
Categories
WooCommerce installation within the WordPress admin
This article will explain how to install WooCommerce within your WordPress site.We will also cover product placement on your site, so the first steps with this are also clear.
Before you can install WooCommerce, there are a few things you need to check out.
Logically, you need to install WordPress first before you can proceed here.
- First, make sure that the read and write permissions are set on your site. Don't know how to check this? Then you can checkthe following link.
- If you want to install this on an existing site we recommend that you make a backup of your site and database first. You can do this in the following ways:
Can I make a backup?
How do I backup my database?
If something goes wrong or you want to go back before the application is installed you have that option.
Step 1, WordPress Admin and looking up the WooCommerce app.
You log into your admin area of WordPress, this can be reached via www.JeDomeinNaam.nl/wp-admin and log in with the data created during the installation of WordPress.
- Next navigate to Plugins > New Plugin
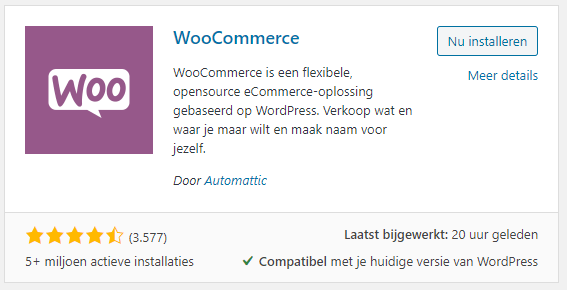
- And enter in the search option: WooCommerce
- Click on the image /link of WooCommerce.
- Then click on Install Now
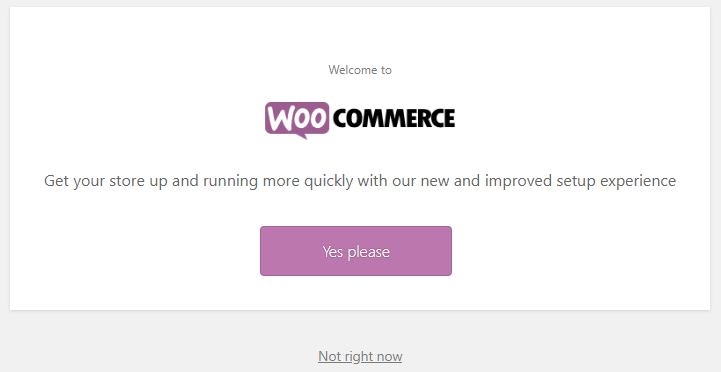
Step 2, Setting up WooCommerce
After you have installed and activated it, you will come to the next page
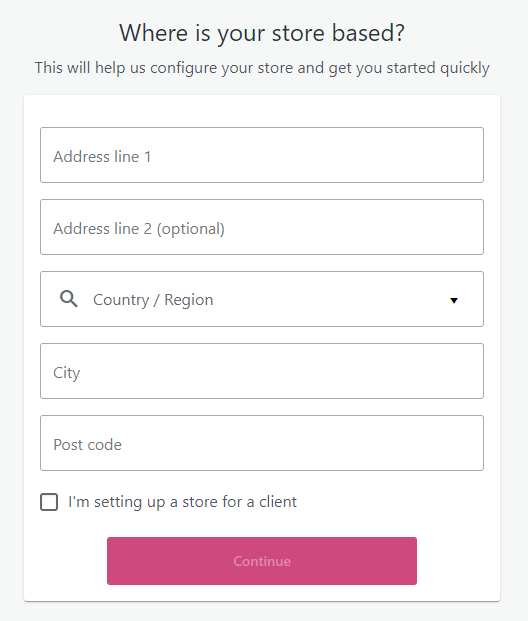
Step 3, Settings within WooCommerce
The last steps you can set up completely according to your wishes.
First fill in the address of your store.
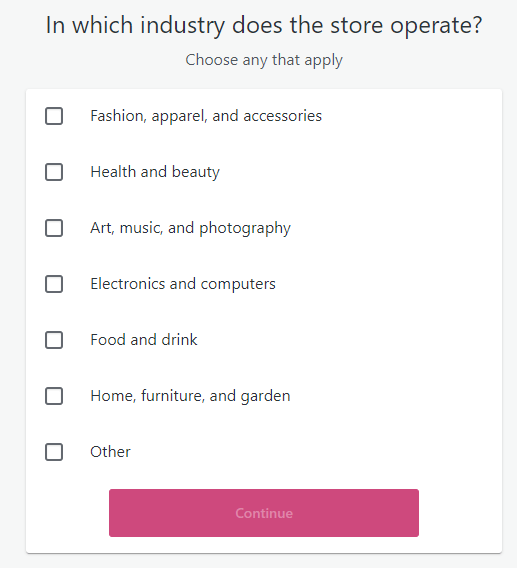
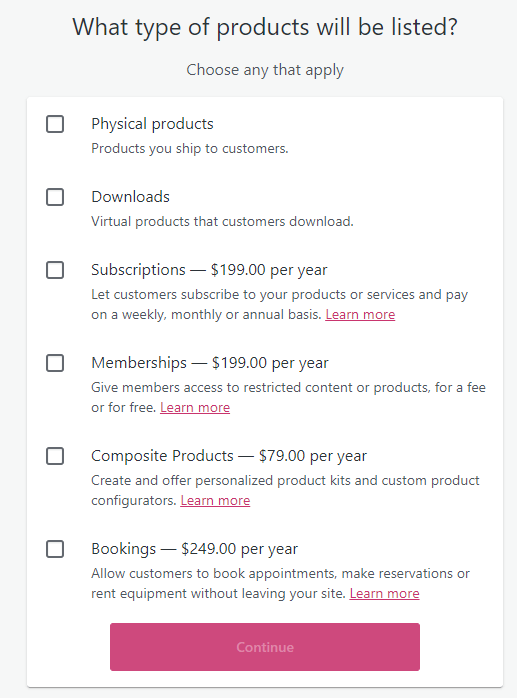
Fill in the type of product you are selling
.
.
Select how your product will be delivered, physical products and downloads are free to use
.
.
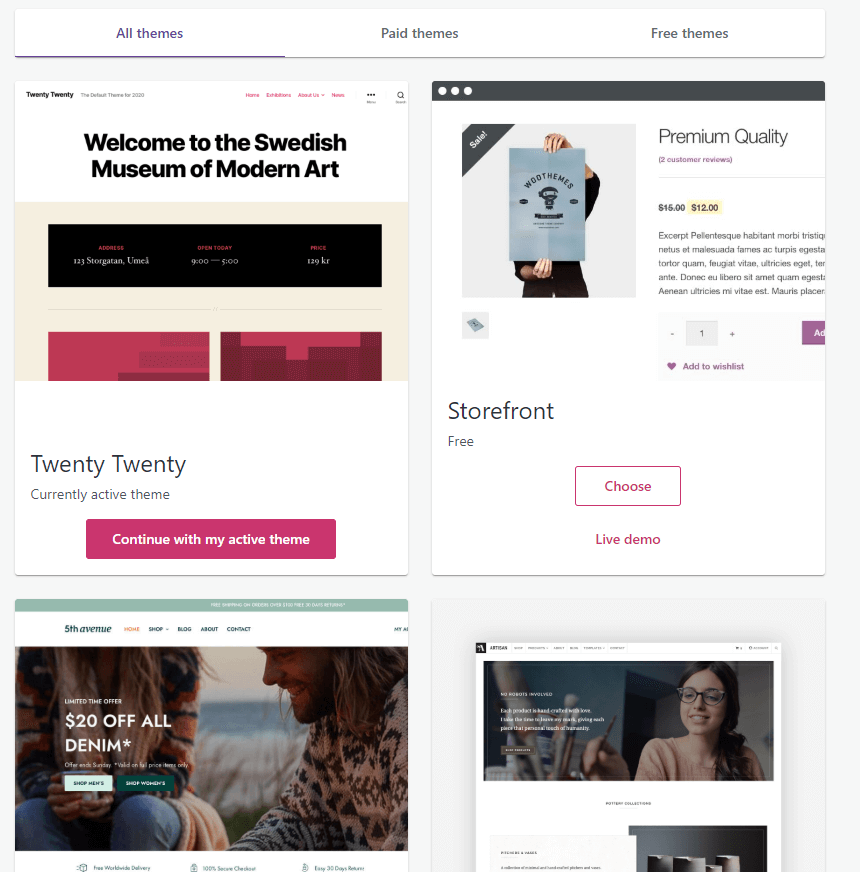
After this you can select a theme for WooCommerce, choose a fitting theme.
After this you can choose if you want to install Jetpack, you can do this if you want.
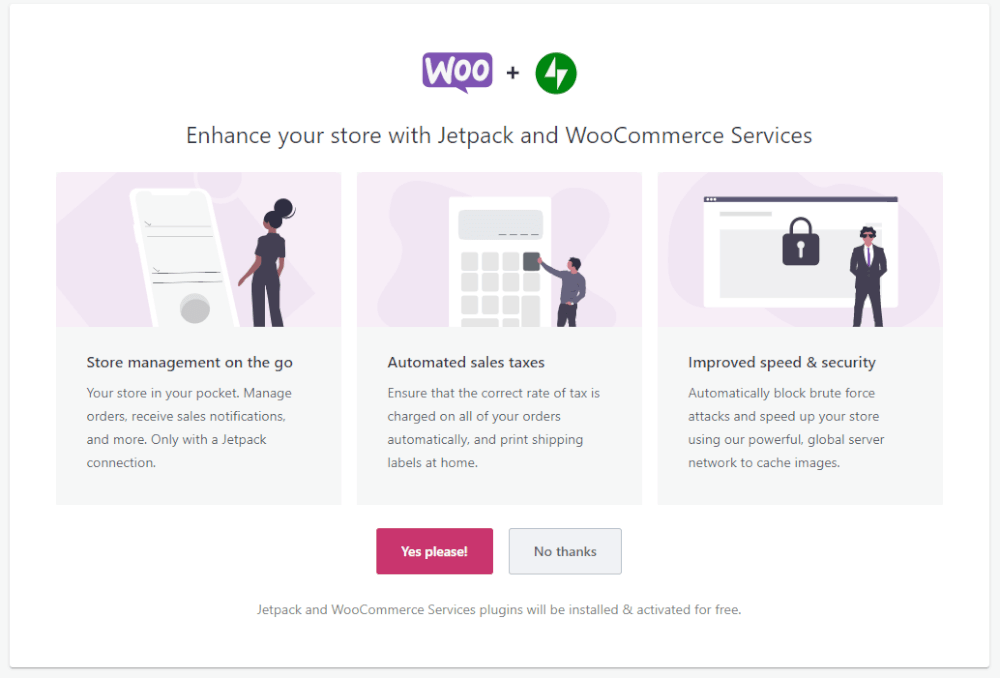
After this you can start using WooCommerce on your webhosting
!If you have any further questions you can check if the online chat is available, you can also create a ticket for this in the customer panel.