
Categories
Email setup - IOS 9 iPad/iPhone
This article explains how to set up your email account in IOS 9. It has also been updated with the latest way we handle mail.If you have an older IOS version you can also use this, the options have remained the same.
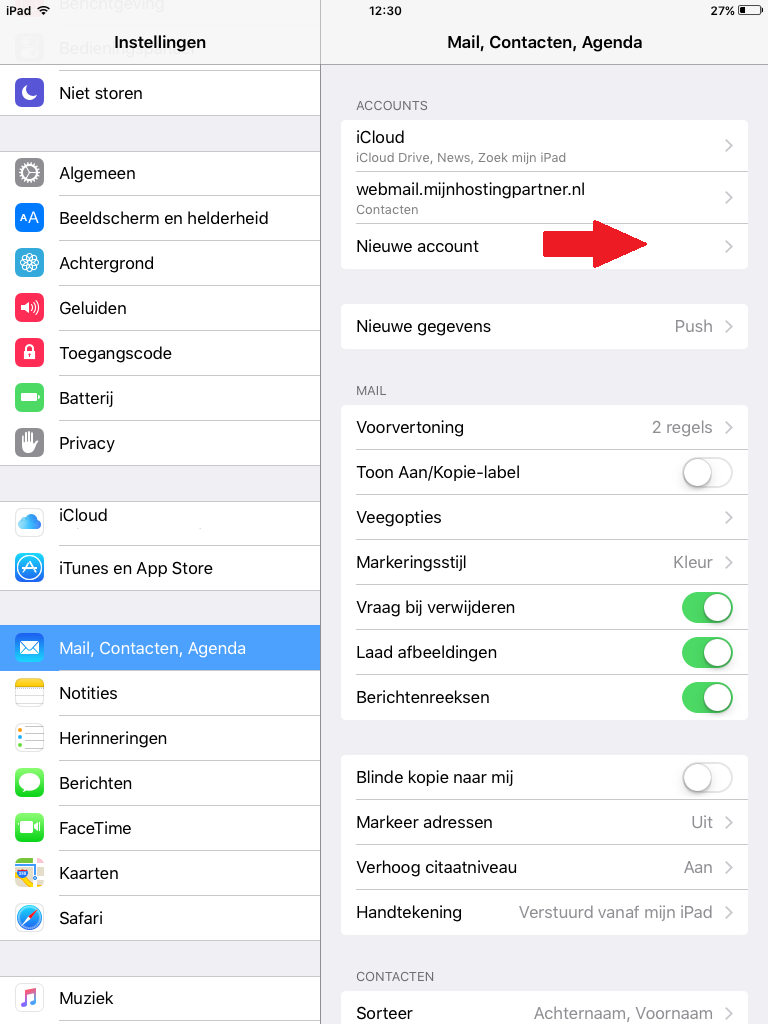
1) You go to settings -> New account.
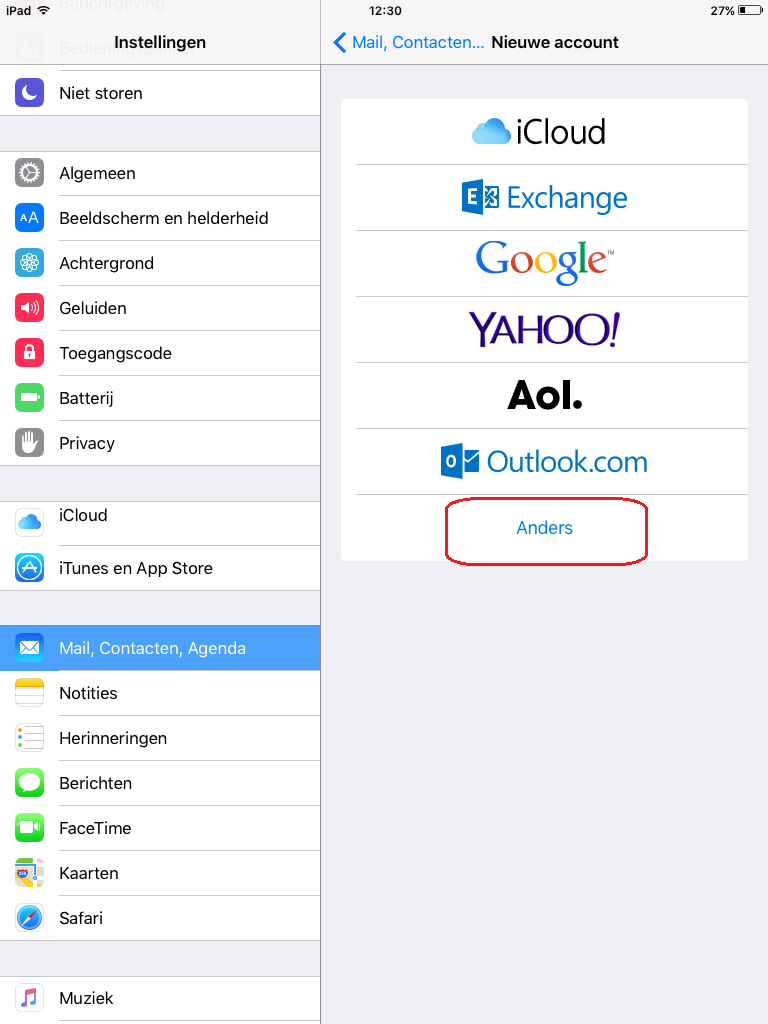
2) In the next screen select "Other"
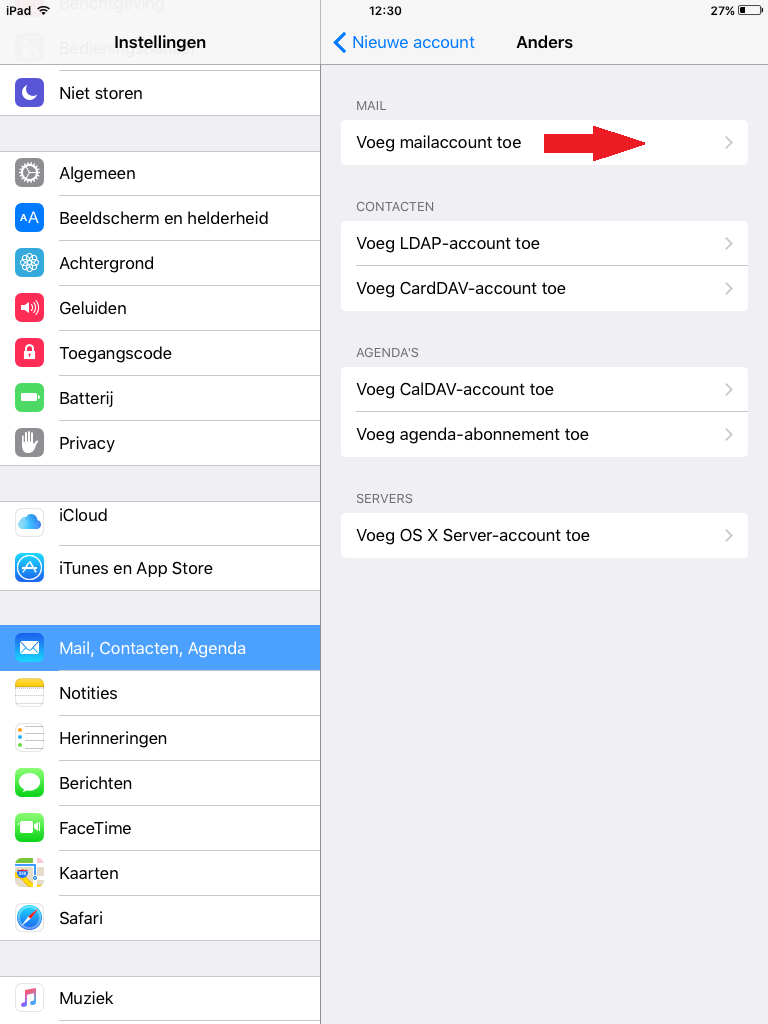
3) Then select "Add mail account"
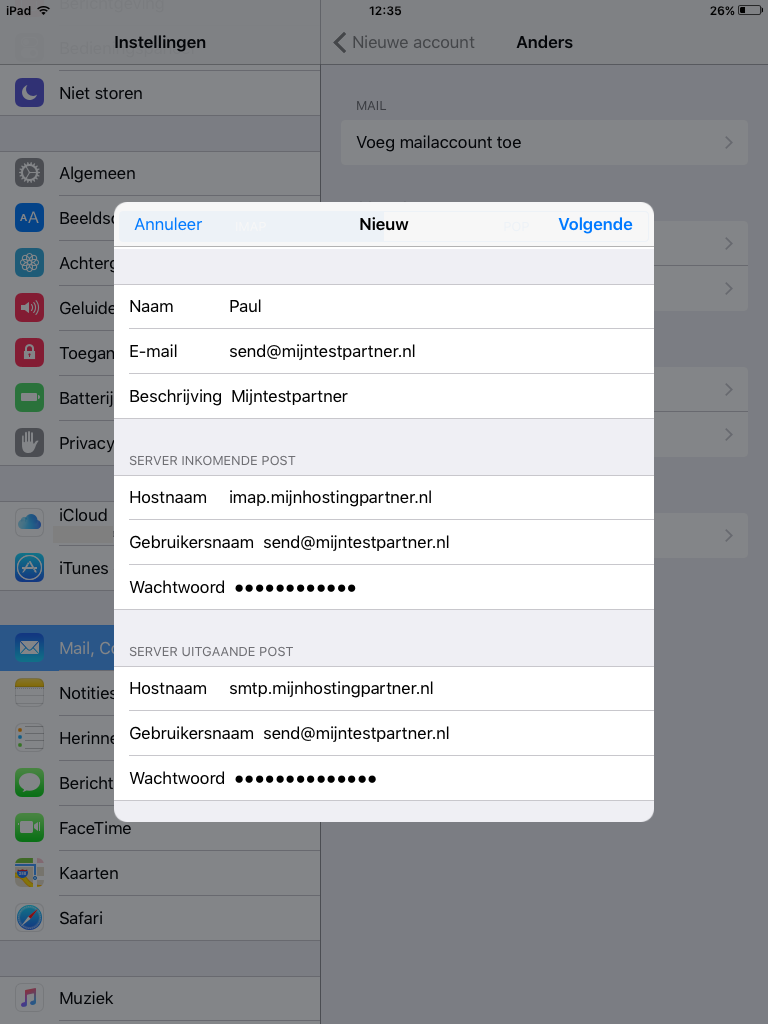
4) In the next screen you have to fill in the details of the account.Then press Next
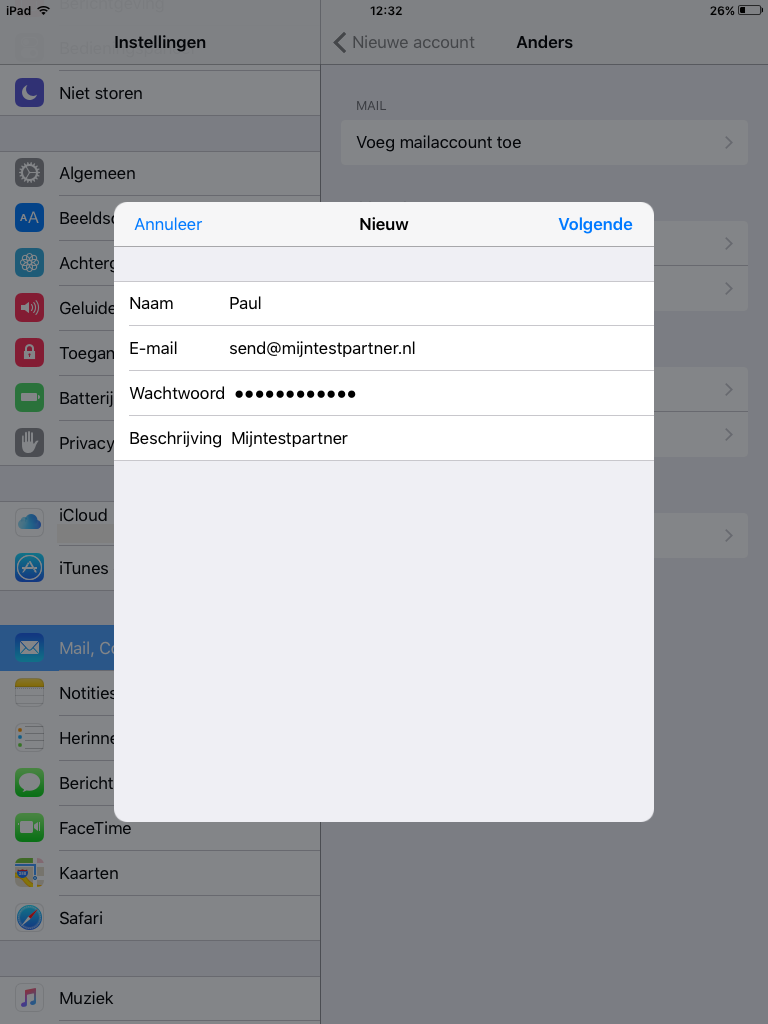
. In this screen you fill in the details as below.
If you want to use IMAP then you can take over the data.
If you want to use a POP account you can change it to:
pop.hierjedomeinnaam.nl
Your username is always your email address in combination with your password.
In the outgoing settings you must always fill in the following server:
smtp.mijnhostingpartner.nlIn
combination with your email address and password.
After this you can press continue, there will be a prompt for SSL use yes or no. Here you can press Yes. We will set this up further below.
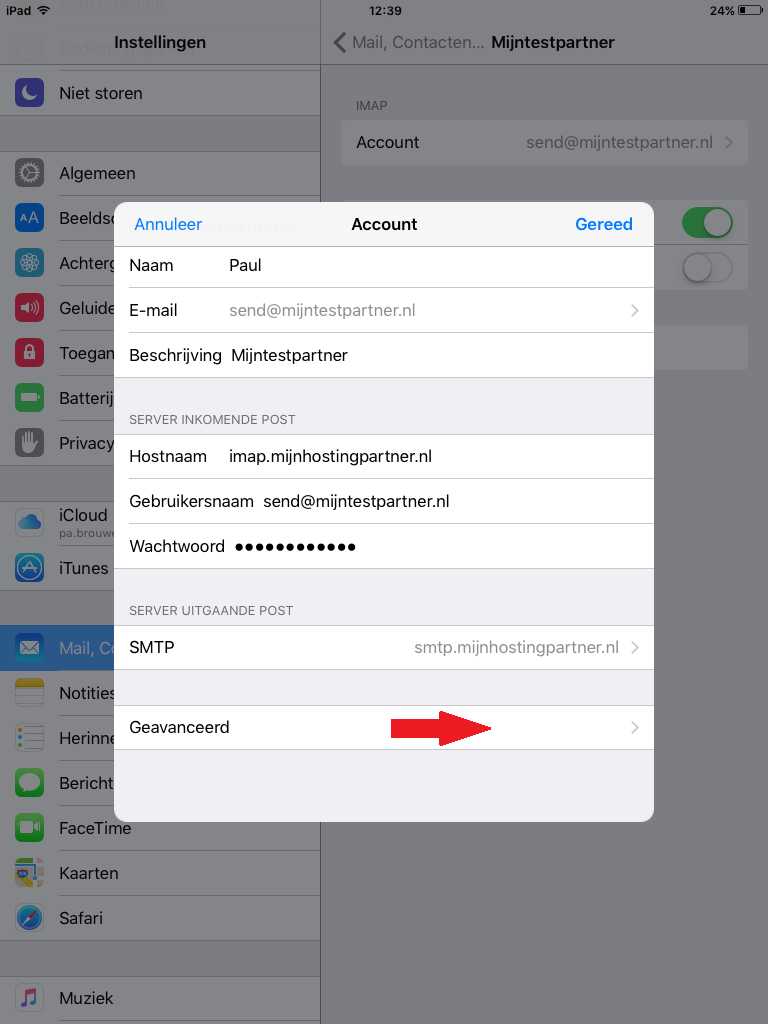
5) After it is set you can go to the account again and go to the settings.
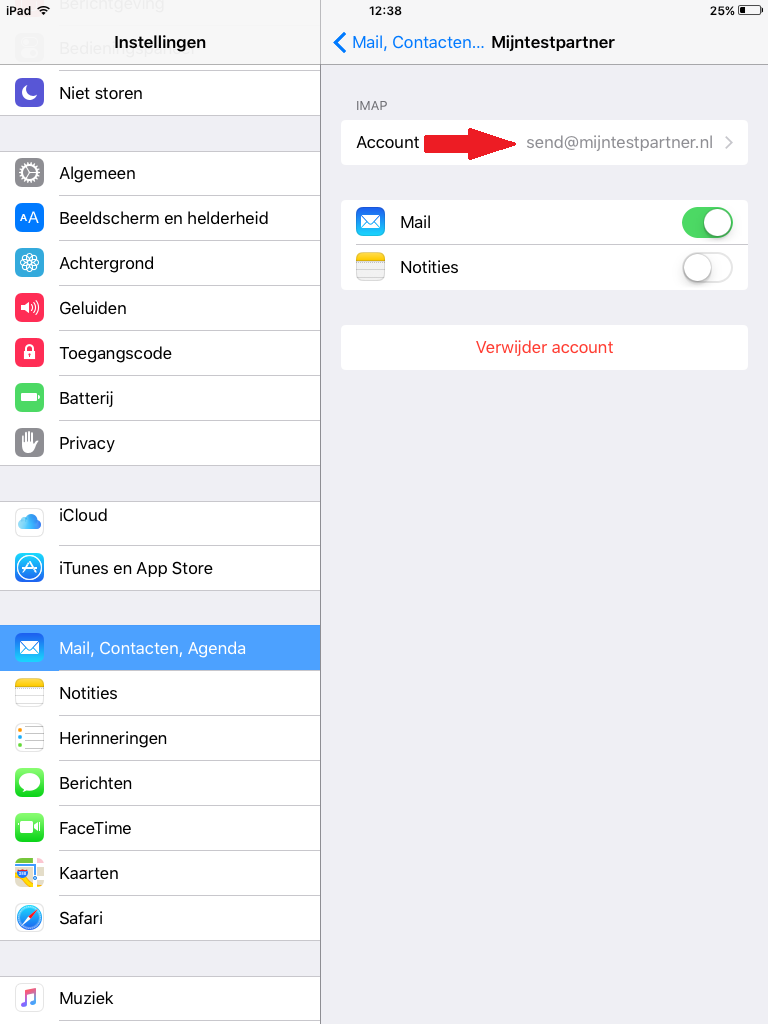
You then scroll down until you get to the settings of the servers.
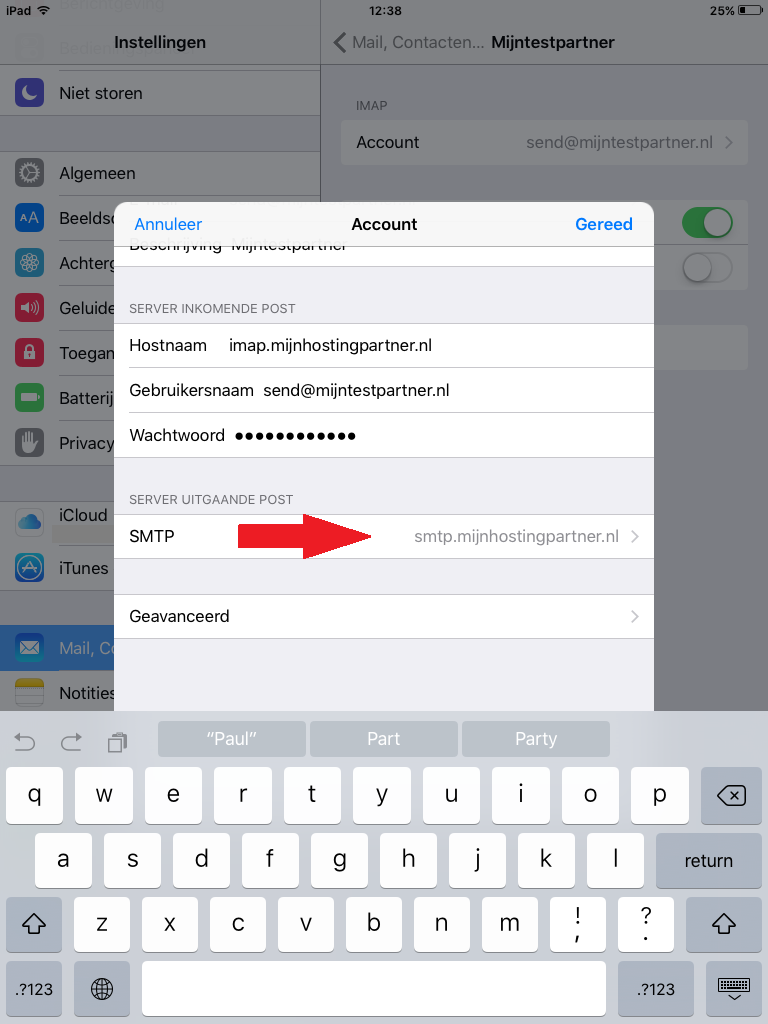
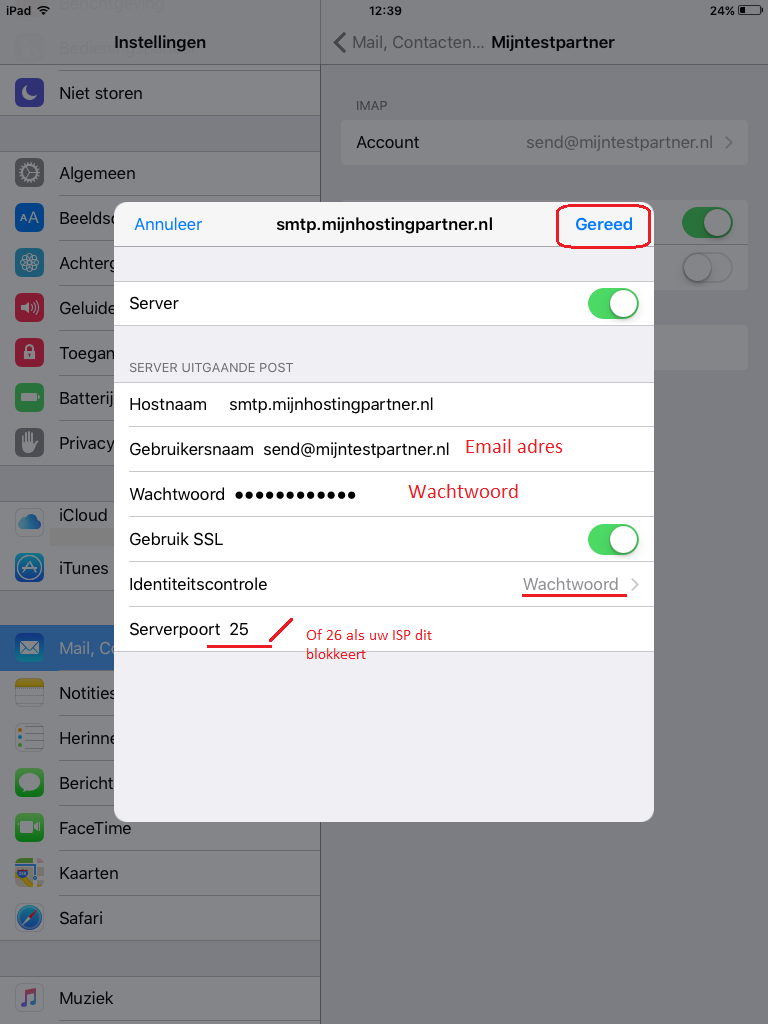
6) Here you first select the SMTP server.
7) Then you press the smtp server again.
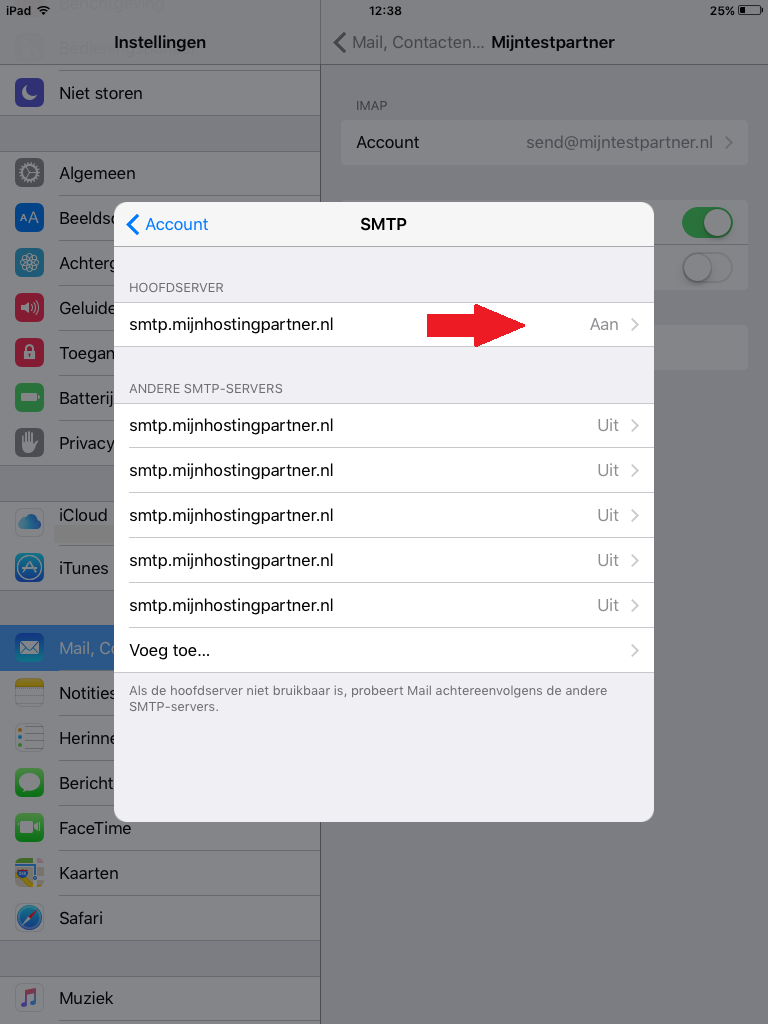
8 ) Here you change the following things:
- Check if use SSL is enabled.
- Identity check you have to set on "password ".
- Here is the change that is most important, the port change to 25. Besides port 25 you can also use 26 and 587. Depending on your network. 587 works in almost every case.
9) Now it's just a matter of checking the incoming mail on the SSL settings.
You return to the settings screen and select the last option, Advanced
10) Here you check the same as for the outgoing SMTP server. Namely:
- Use SSL : on
- Identity verification : password
- Server port : 143
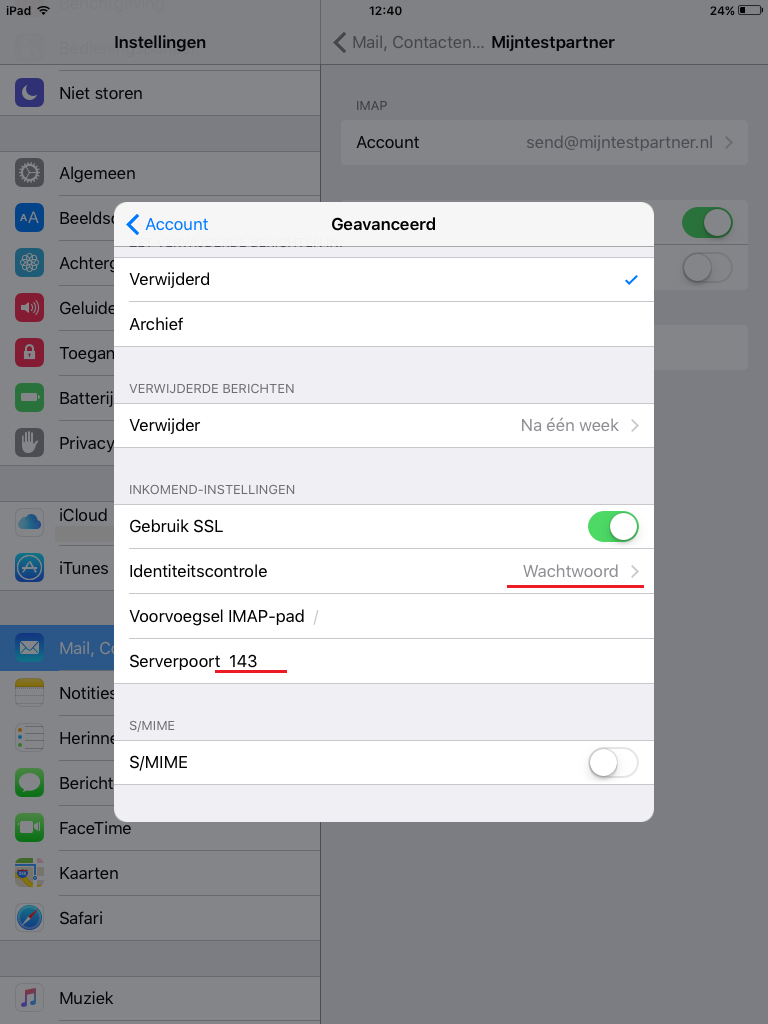
After you have clicked on ready you can make full use of your email account.
If you have any questions you can always see if there is someone on the online chat.
Or you can create a ticket for this in the customer panel.
keywords: mail setup activate ios IOS 9 iphone ipad iwatch