
Categories
Email setup - BlueMail Android
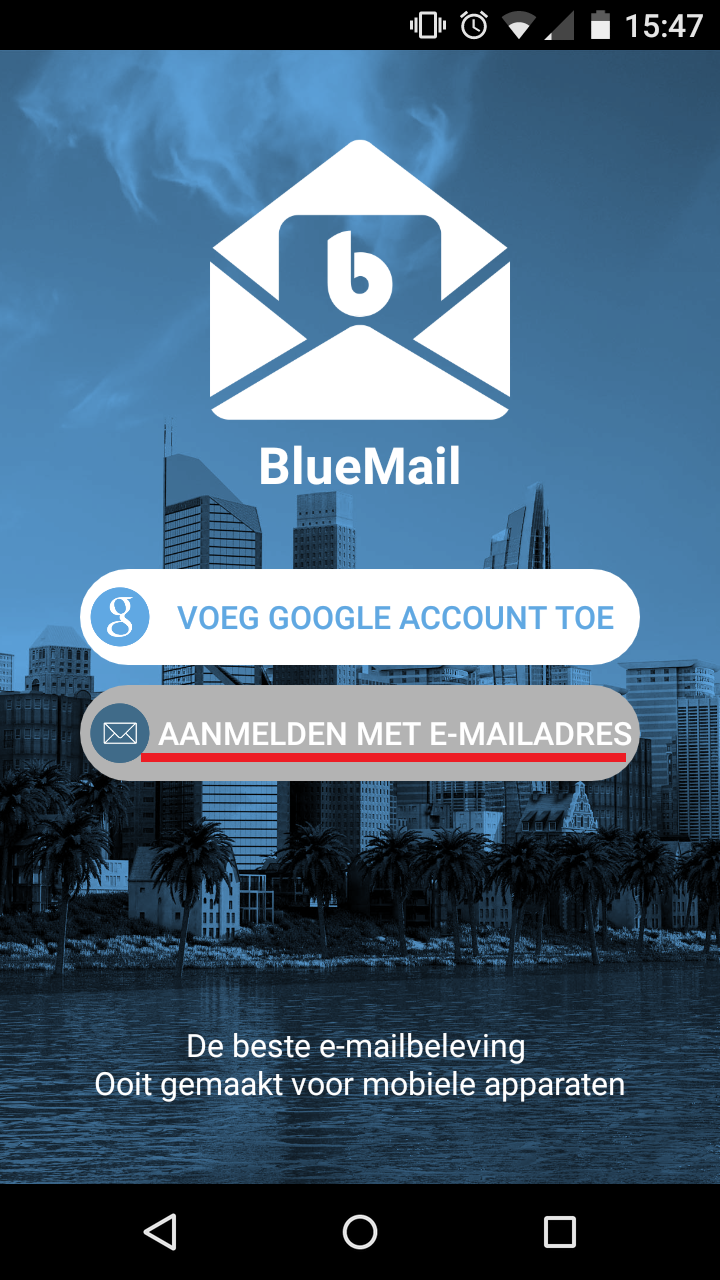
To set up BlueMail you can follow the following steps.1 ) Start the application and add an account in the following way:
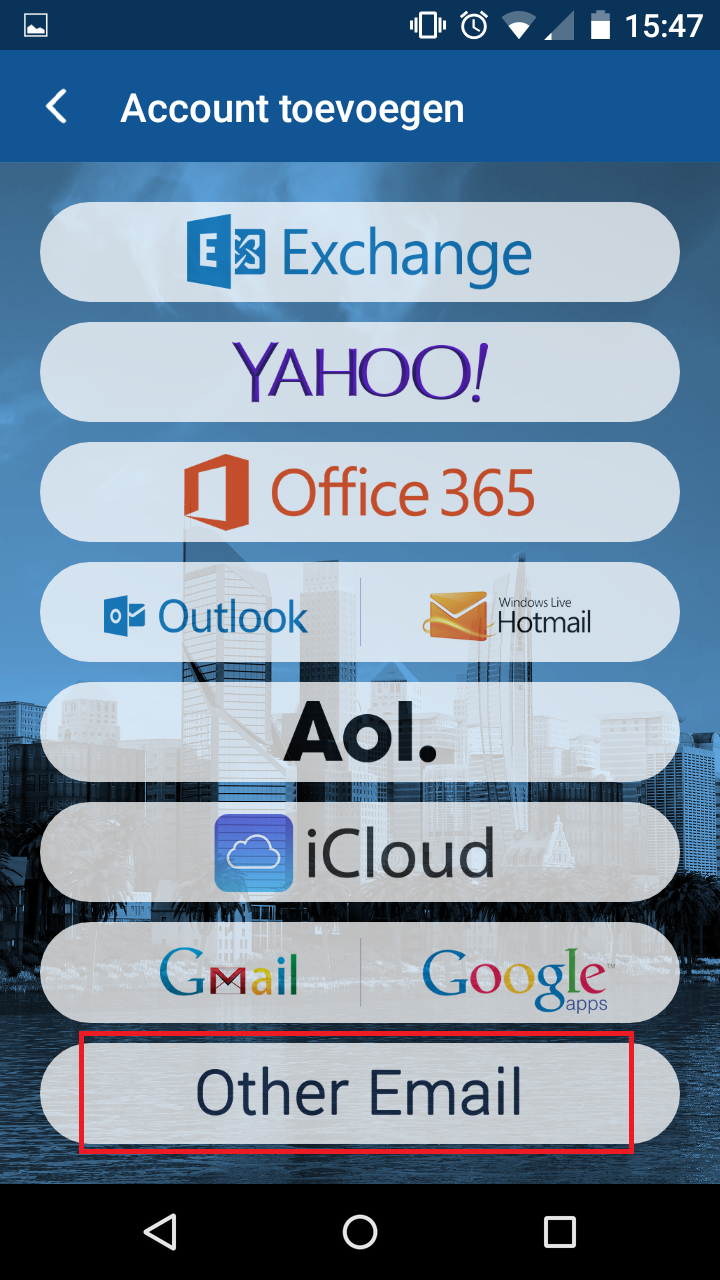
2) Click here on other mail
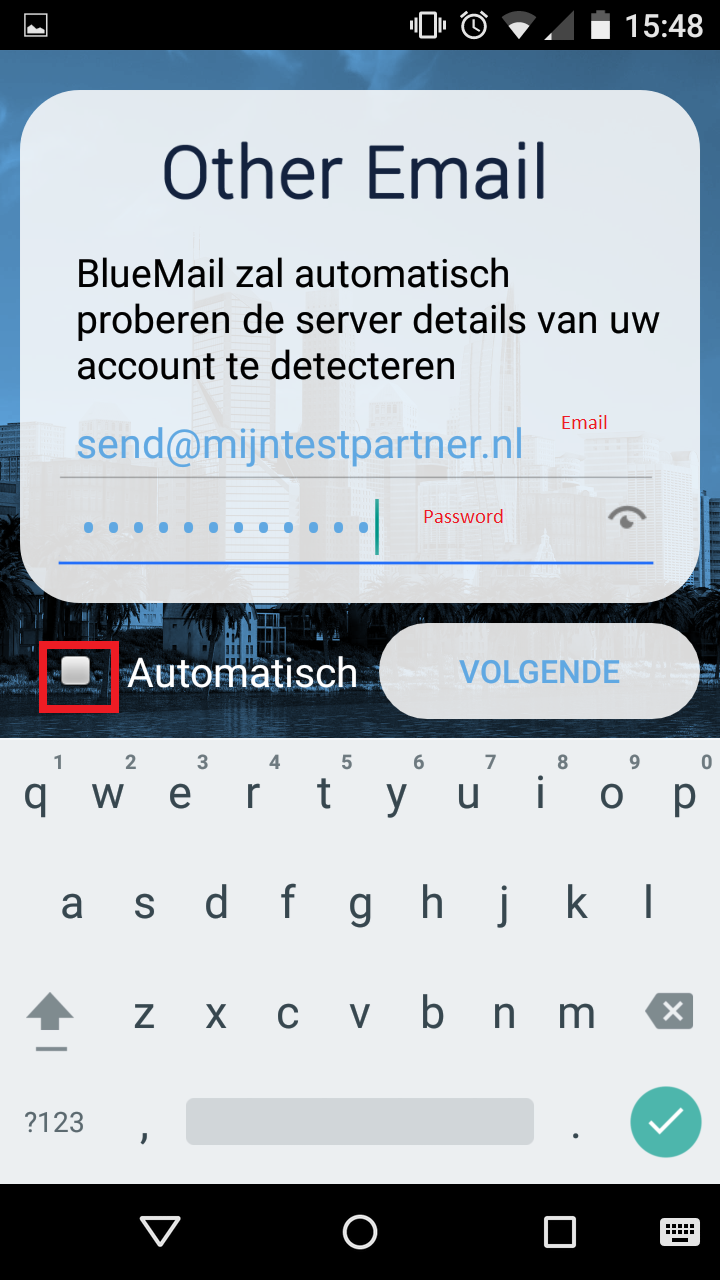
3 ) Fill in your mail address and the corresponding password.
4 ) Click here on IMAP
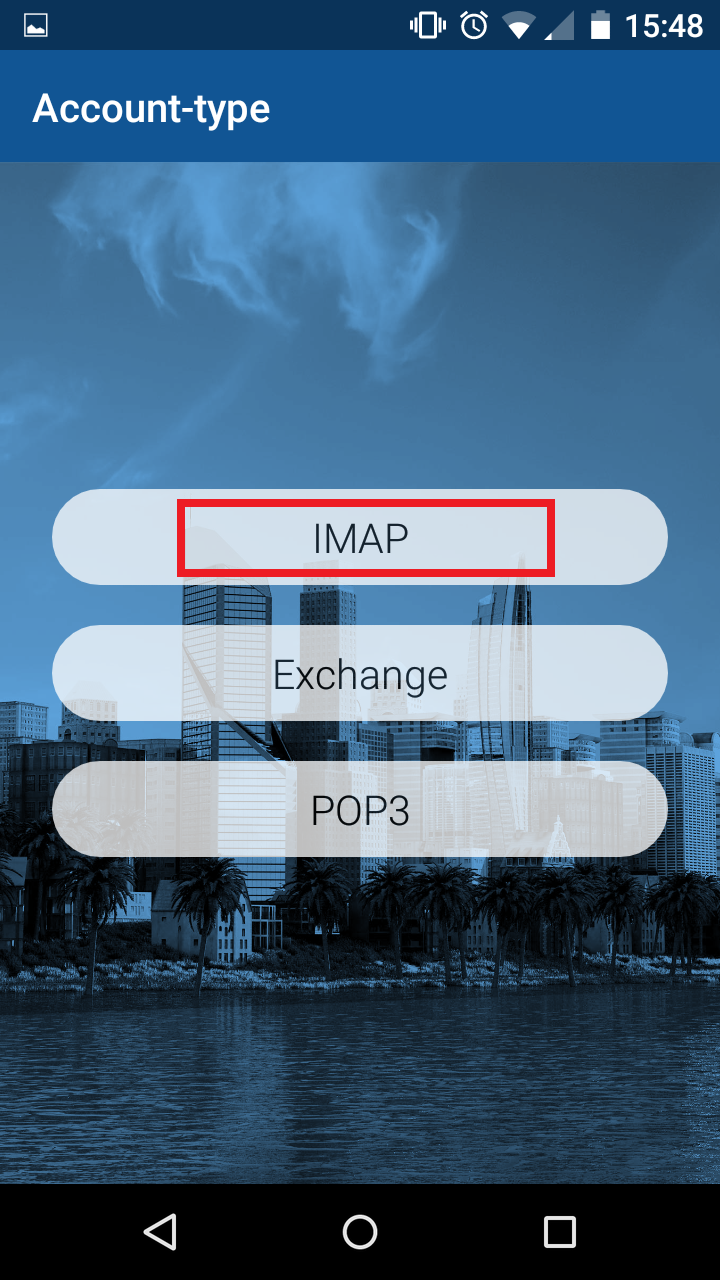
5) Select IMAP here if you want to use most of the features. If you are going to use POP then you can follow the rest of the manual except for the following information:
Incoming server: pop.mijnhostingpartner.nlIncoming
port: 110 startTLSThe
informationbelow is based
on the IMAP settings.
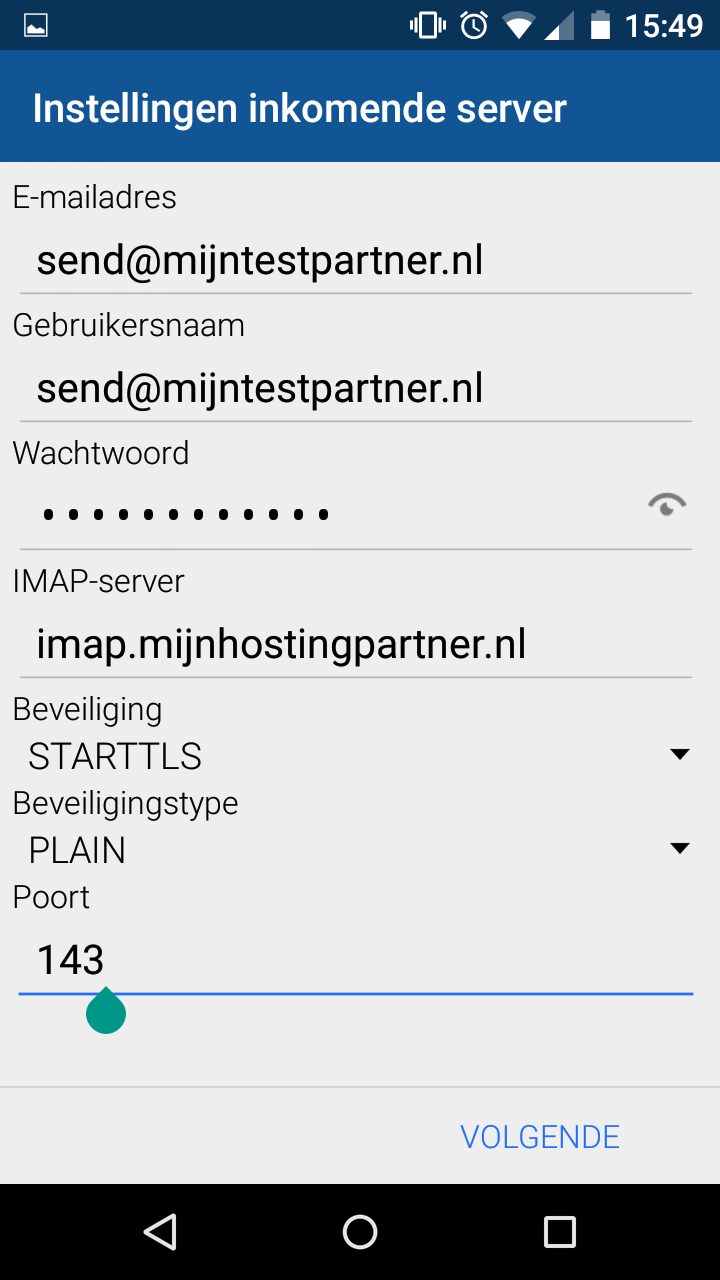
6 ) Your username is the same as your email address. The imap server is in any case imap.mijnhostingpartner.nlThe
outgoing settings are automatically configured.
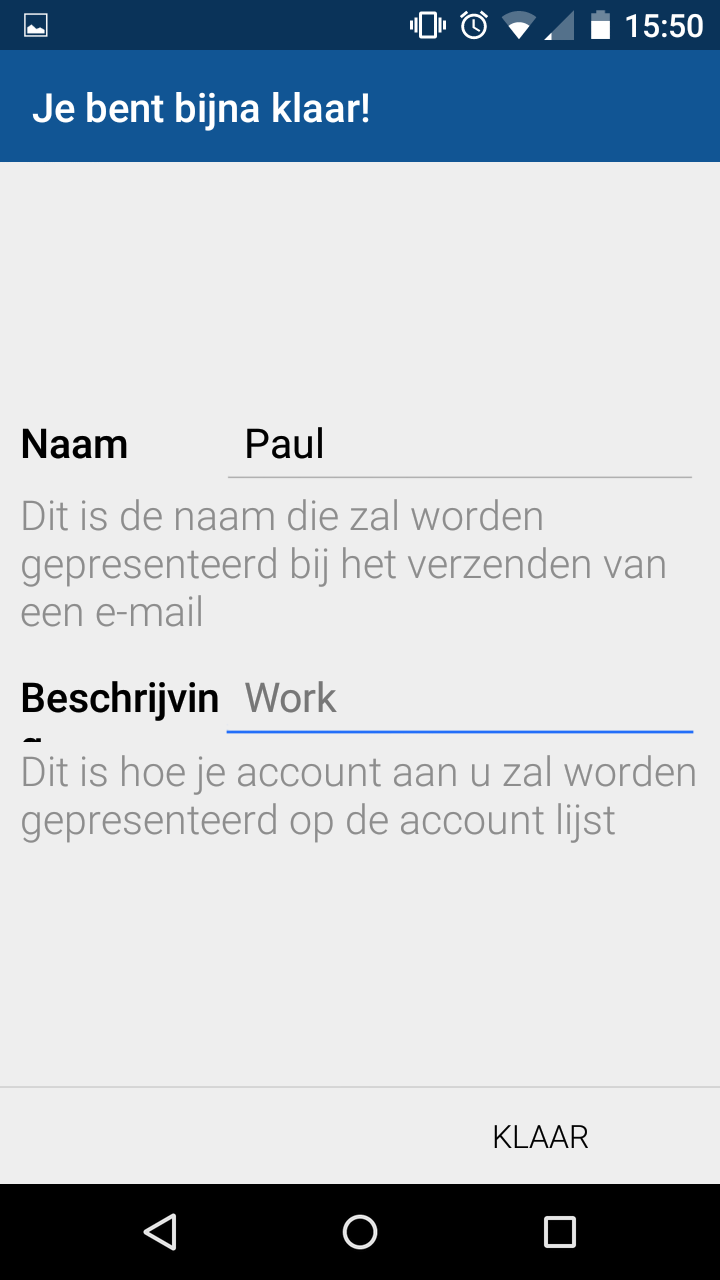
After this you can use the mail app.
If you have any questions you can always see if there is someone on the online chat.
Or you can create a ticket for this in the customer panel.
Tips for the article? Report it to us via the chat or via a ticket in the customer panel and we will look into it further.