Also check out below articles
 22-03-2021
Introduction WordPress dashboard
The WordPress content management system can be easily and quickly worked with11-02-2023Why do I need my own website?
There are several reasons why you can have your own website. In this blog27-12-2021Is there any other search engine than Google?
Google has held a dominant position in global search for some time and will24-07-2024Create WordPress plug-ins
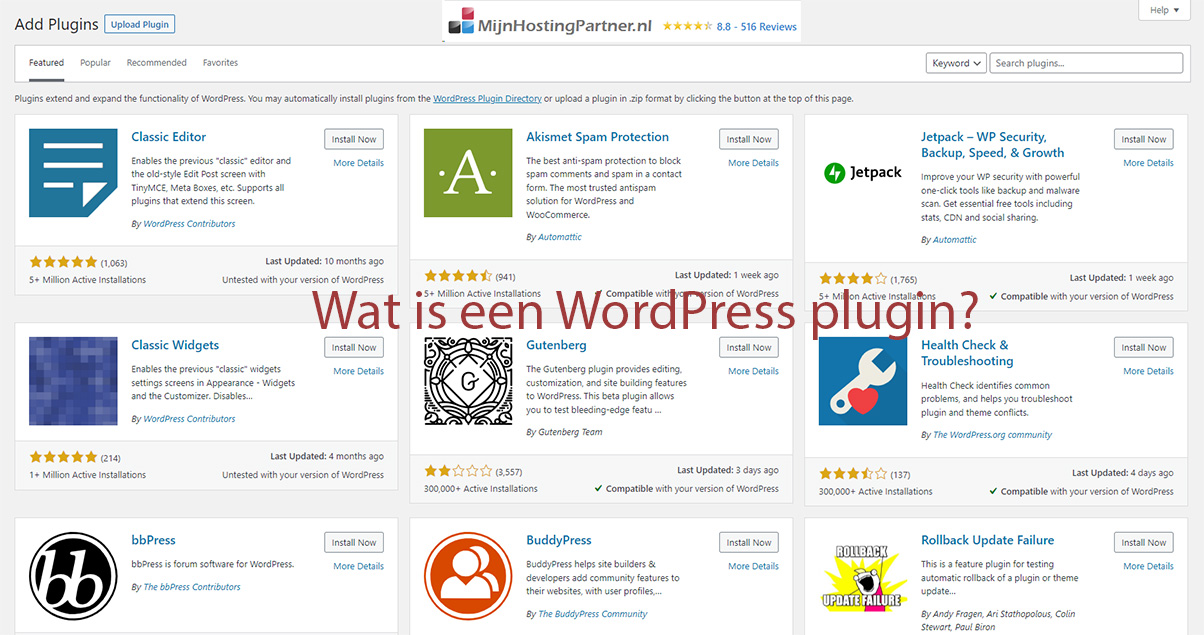
WordPress is one of the most widely used content management systems for managing and creating websites, and for good reason. It's easy to use for less tech-savvy users, but also offers many advanced options for more experienced users or programmers. In fact, you can easily create plug-ins, themes and other extensions for it that you can experiment with to your heart's content. With the right idea and execution, you can also make a name for yourself as a software developer, because thanks to the many users, there is almost always a market for the plug-in or theme you have developed. In this blog post, we take a look at plug-in development and how you can get started!
First steps with your idea
To develop a plug-in, you must of course first have an idea of what functionality you want your plug-in to have, e.g. do you want to create a solution to a problem that you have experienced yourself? Or is there a request from a customer that you want to implement? Write this down and work it into an action plan for your plug-in. Which functionality forms the core of the plug-in and which functionality do you want to activate at a later date?
Work this out and create a schedule in which you want to activate it. Your plug-in can use a combination of code languages, for example the code languages HTML, PHP, CSS and Javascript. Many things are possible with these 4 core languages, and many a programmer will have started their career with them. This is also one of the reasons why WordPress is so popular.
PHP is at the heart of WordPress. As an example for this article, we have created a simple plug-in that makes it possible to remove the website field from the comment field in comments. This is a field that is used almost exclusively by spammers and adds little to a comment. By default, there is no way to manage this in WordPress, and so you can enable this with a plug-in. The plug-in consists of just a PHP file that ensures that the website field is removed. It also ensures that there is an additional section in the existing WordPress settings menu to manage this.
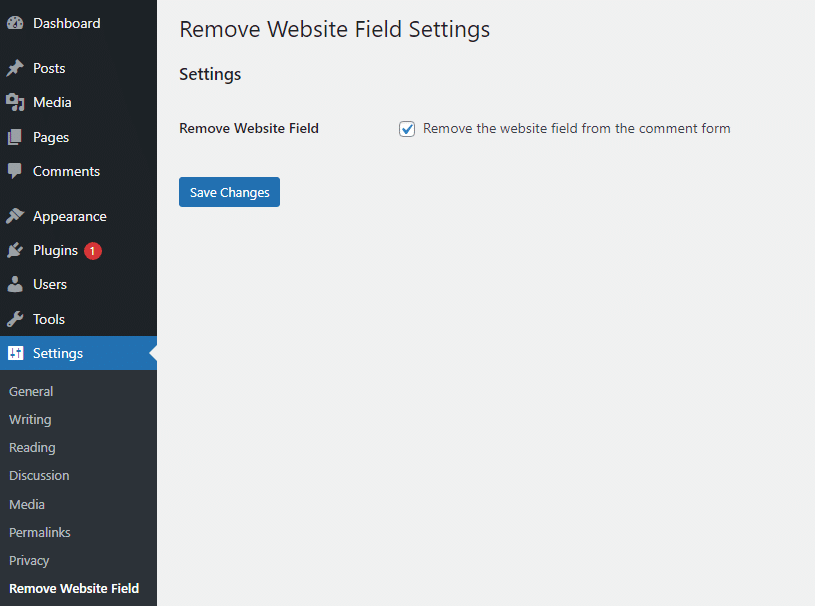
In this example, we have left the plugin on this website only, so not hosted externally on WordPress. This allows you to test the plugin extensively in a development environment before taking the next steps.

Coding and further developing the plugin
To start coding your plugin, you can again use a number of tools, if you already have a favorite tool, you can use that. If you are just starting out, you can use Microsoft Visual Studio Code, for example, which is a free version that you can use without any problems. It is best to concentrate on all the desired functions first. Once you have mastered the core functionality, you can move on to styling and advanced features.
Test your plug-in extensively
To test your plug-in in advance, it is best to do this on a demo website. With hosting from MijnHostingPartner.nl, you can easily create a subdomain for this and set up a separate WordPress website within it. This way, your production website stays clean and up and running while you can test to your heart's content. We recommend testing this for a few months and not rushing into anything, as a bug or vulnerability could have disastrous consequences for your production website if you deploy the plugin immediately.
Register with WordPress and market your plugin
Once you are happy with how the plug-in works and the core functionality is working and tested, you can consider the next step, which is to market the plug-in within WordPress. You can upload the plug-in to the WordPress plug-in directory, where it will first be tested by the WordPress developers. Once it has passed this test, it is hosted by WordPress and is therefore open source. This means you can't make money from it directly, but if you add more features you can launch a premium or pro version that allows users to upgrade to get access to it.
You can then host it yourself to make it inaccessible by default. Read through the WordPress guidelines in more detail and see how others are doing it. This will give you some ideas on how to set it up. For example, the WP Mail SMTP plugin is free, and the Pro version gives you access to logging and more insight into emails sent.
Listen to your customers' needs and extend the functionality
Once you've got the plug-in up and running and it's ready for market, it's time to focus on support. Keep a close eye on all feedback and make sure you respond to requests promptly. This way you can continue to develop and improve the plug-in and show your customer base that you stand behind it.
Regular and timely updates send a positive message and ensure that your plug-in is not forgotten. With version control, you keep a close eye on whether and what changes in your plug-in and ensure that you can easily roll back within your code.
In this way, you can quickly correct any errors. Have you ever created a plug-in for WordPress? We'd love to hear about your experiences!