Categories
Joomla manual installation
Joomla is also supported at MijnHositngPartner.nl and is easy to install. A few things are required for this, namely the following:
-> FTP account & FileZilla
-> MySQL / MariaDB database and user + host
-> installation file (zip) from joomla.org
After this you can start setting up your Joomla website.
The start is in unpacking the Zip file to a folder on your computer, to start the upload to the wwwroot of the website at MijnHostingPartner.nl.
Unzipped this looks like this:
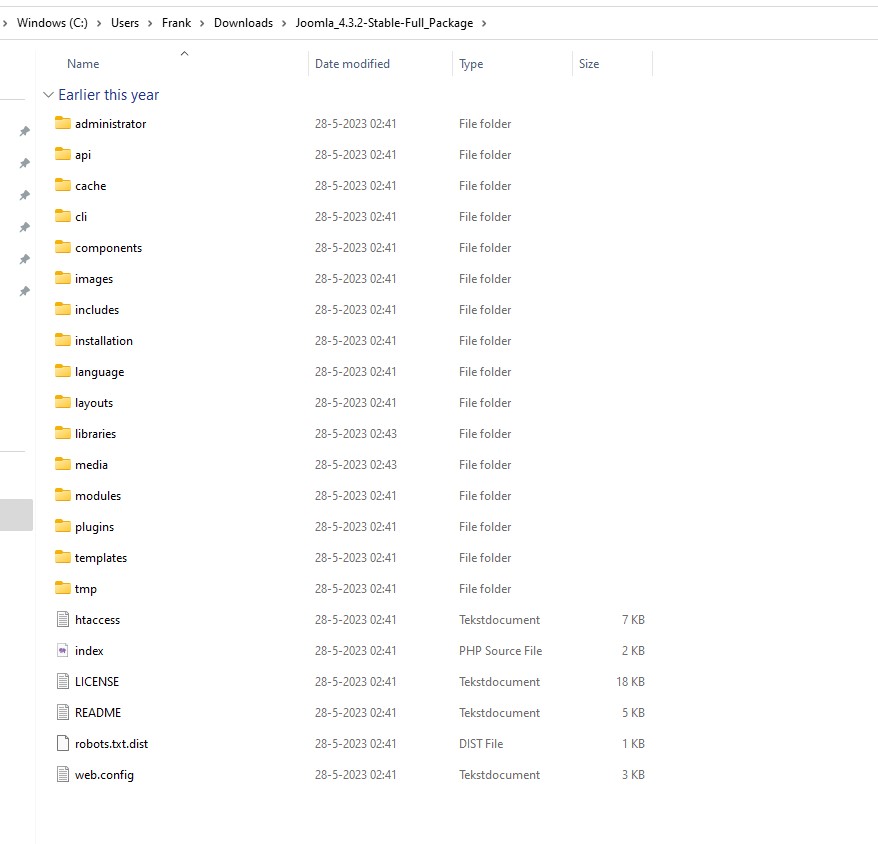
All these files upload to the wwwroot, so you can do this using an FTP account and an FTP program such as FileZilla.
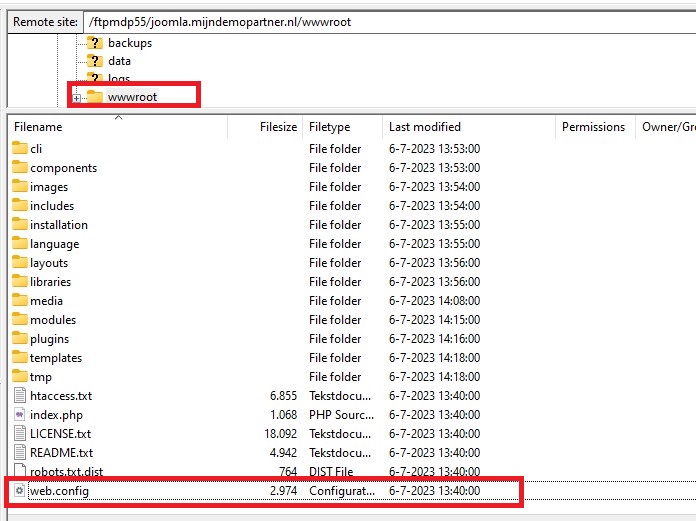
The web.config.txt file you replace and rename to web.config. There will already be an existing one in there, so just replace it with this one.
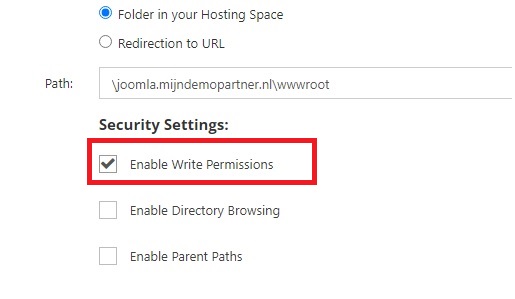
Select the latest available PHP version and set full write permissions for the installation. You can do this via the control panel or via the client panel.
After this you can go to your website, you will be redirected to the Joomla installation. If you still get an error message, check the upper settings. Try for example a higher or lower PHP version.
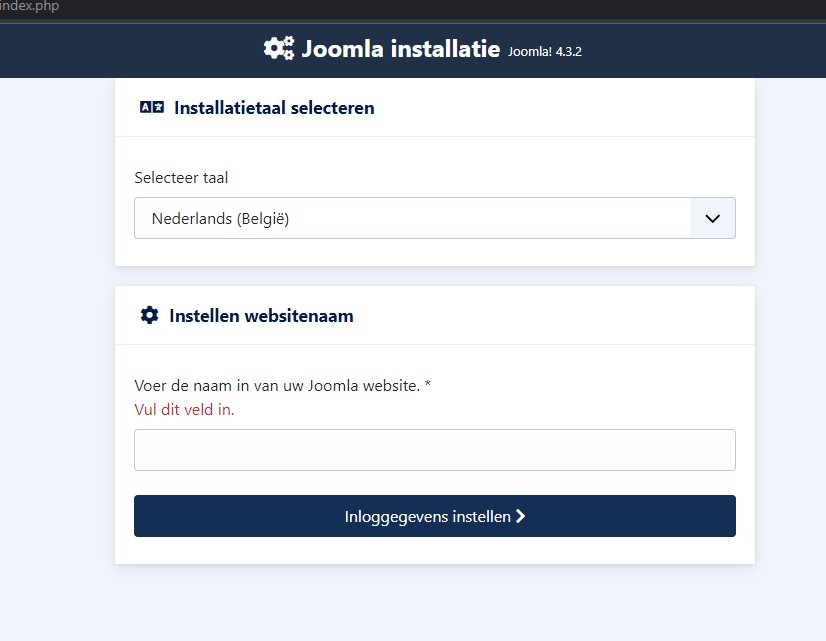
Fill in the website name and then the login information. Use a strong password. For example from the generator.
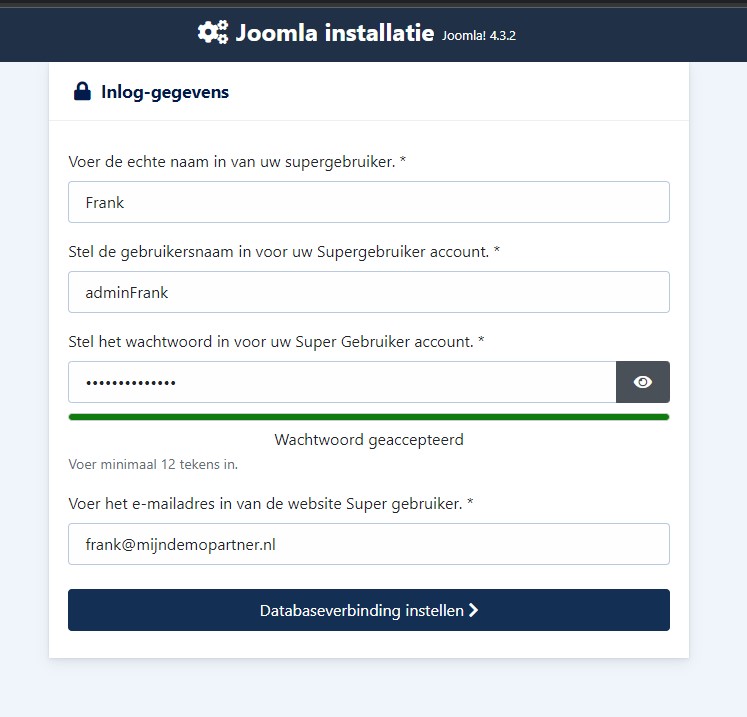
After this you come to the Database connection settings, here you should pay attention and use the correct data.
Both MySQLi and PDO can be used.
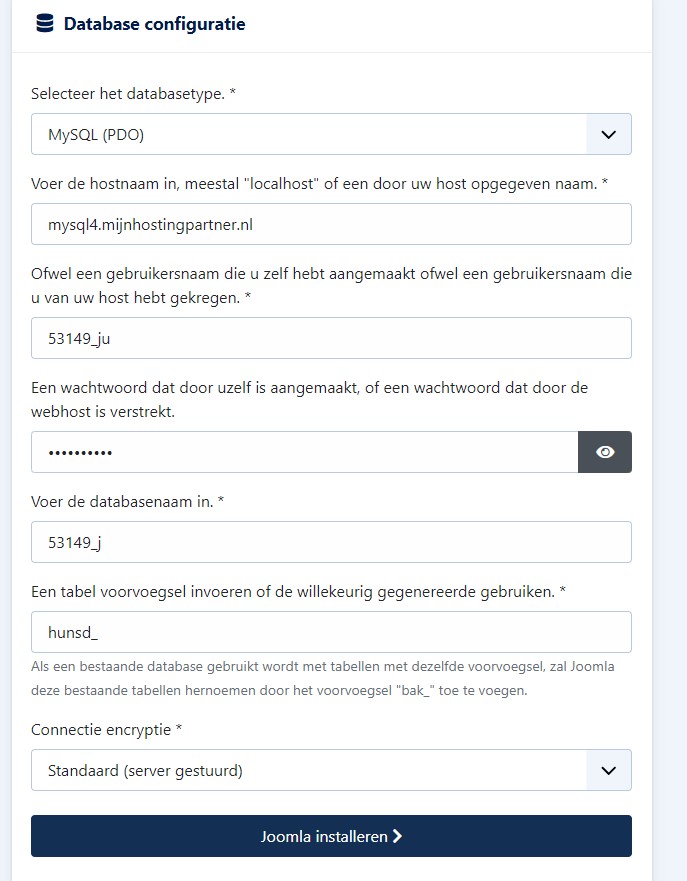
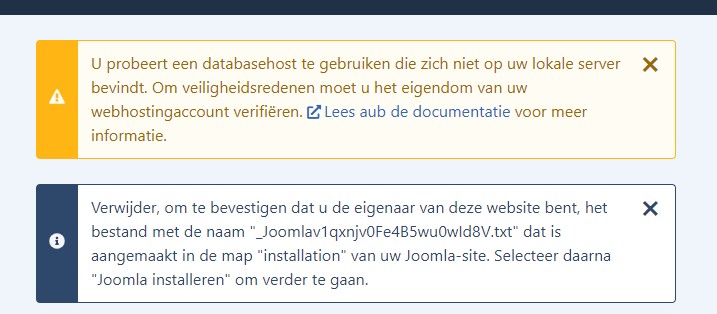
Then you can continue with Joomla installation, you get a message about the database, check whether the data are correct, you can do this for example through mysqlwebadmin.nl
Since it is an external database host, you need to delete the file in the Installation folder. After this you can continue.
Then Joomla is installed and you can remove the Installation folder in its entirety from the wwwroot.
And then log into Joomla to create your website.