Categories
Push mail setup - Android 10
This article explains how to set up PushMail on Android 10
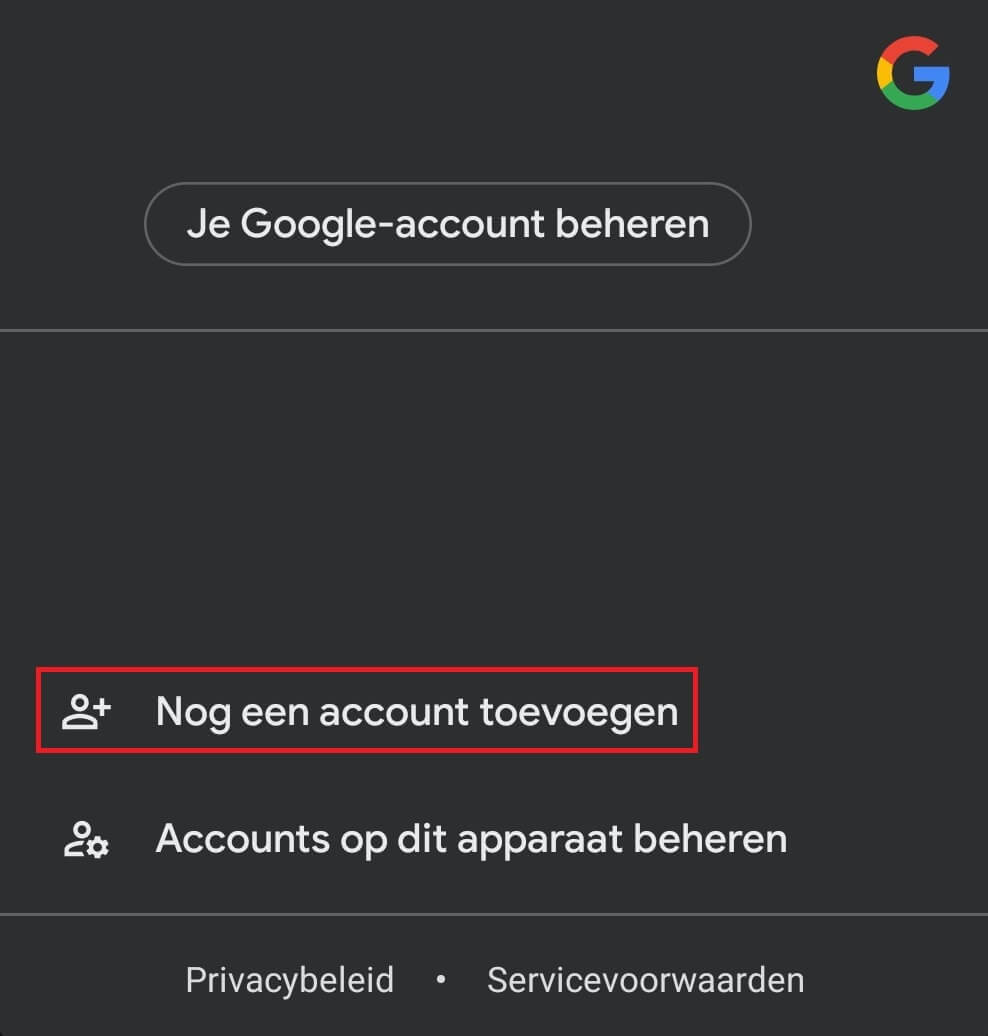
1) In the mail click on your profile and then click on add new account
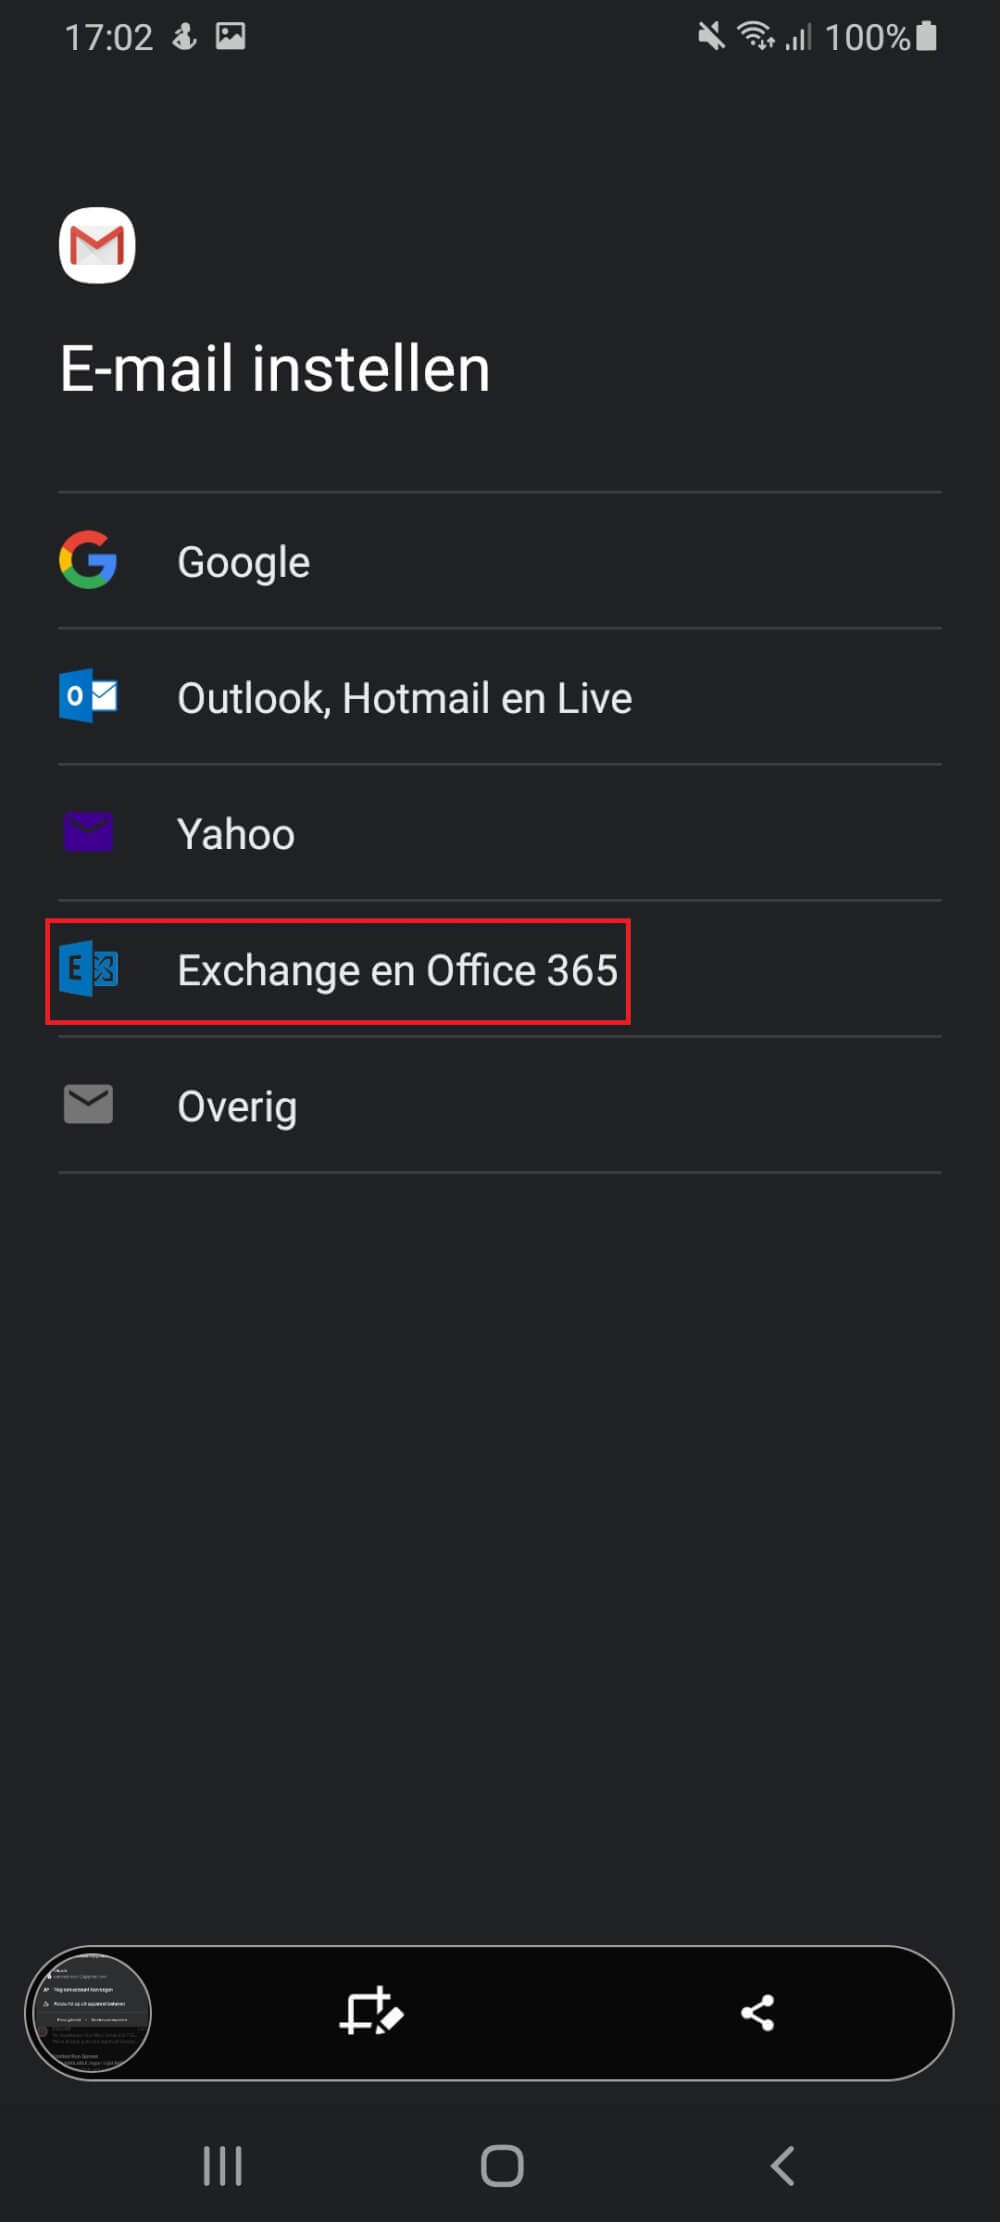
2 ) Click on Exchange and Office 365
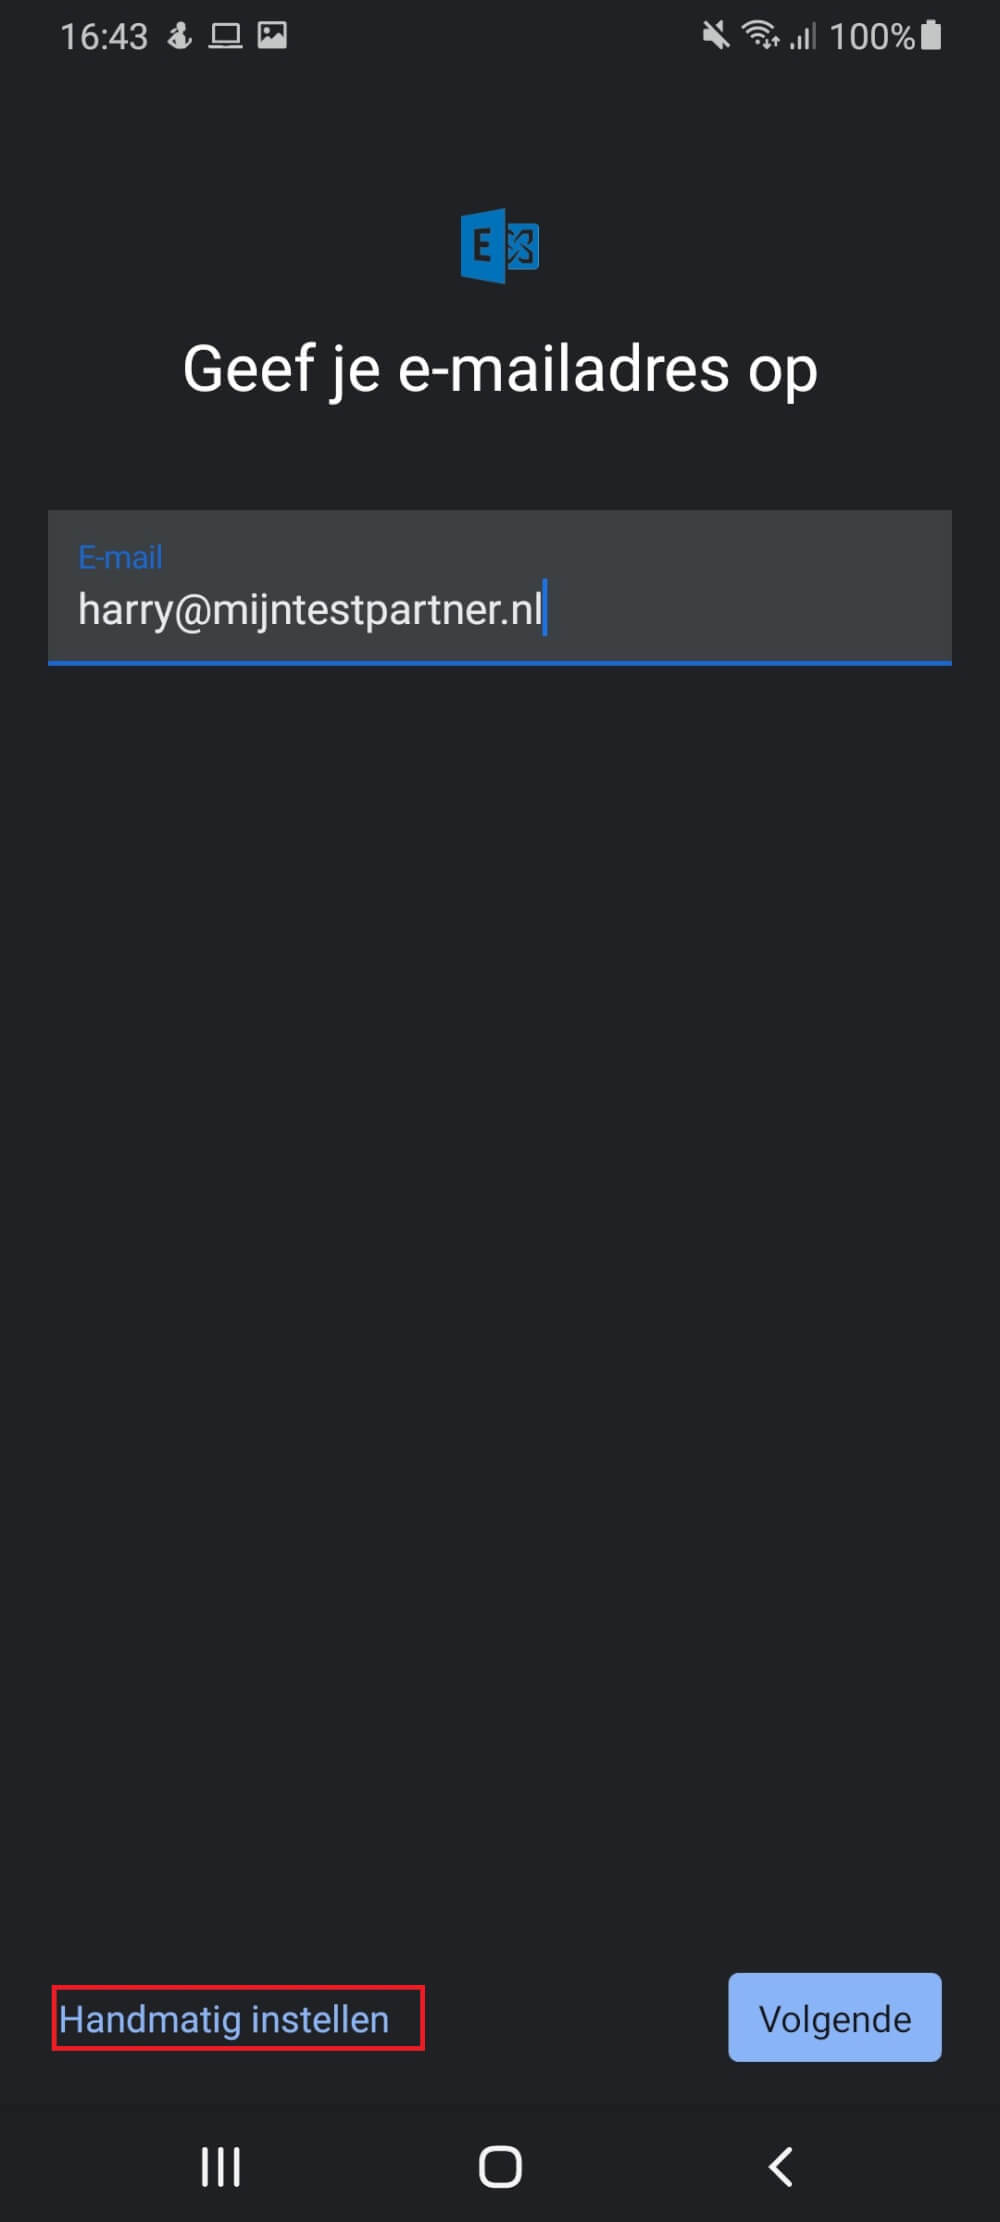
3 ) Enter your mail address and click on manual setup
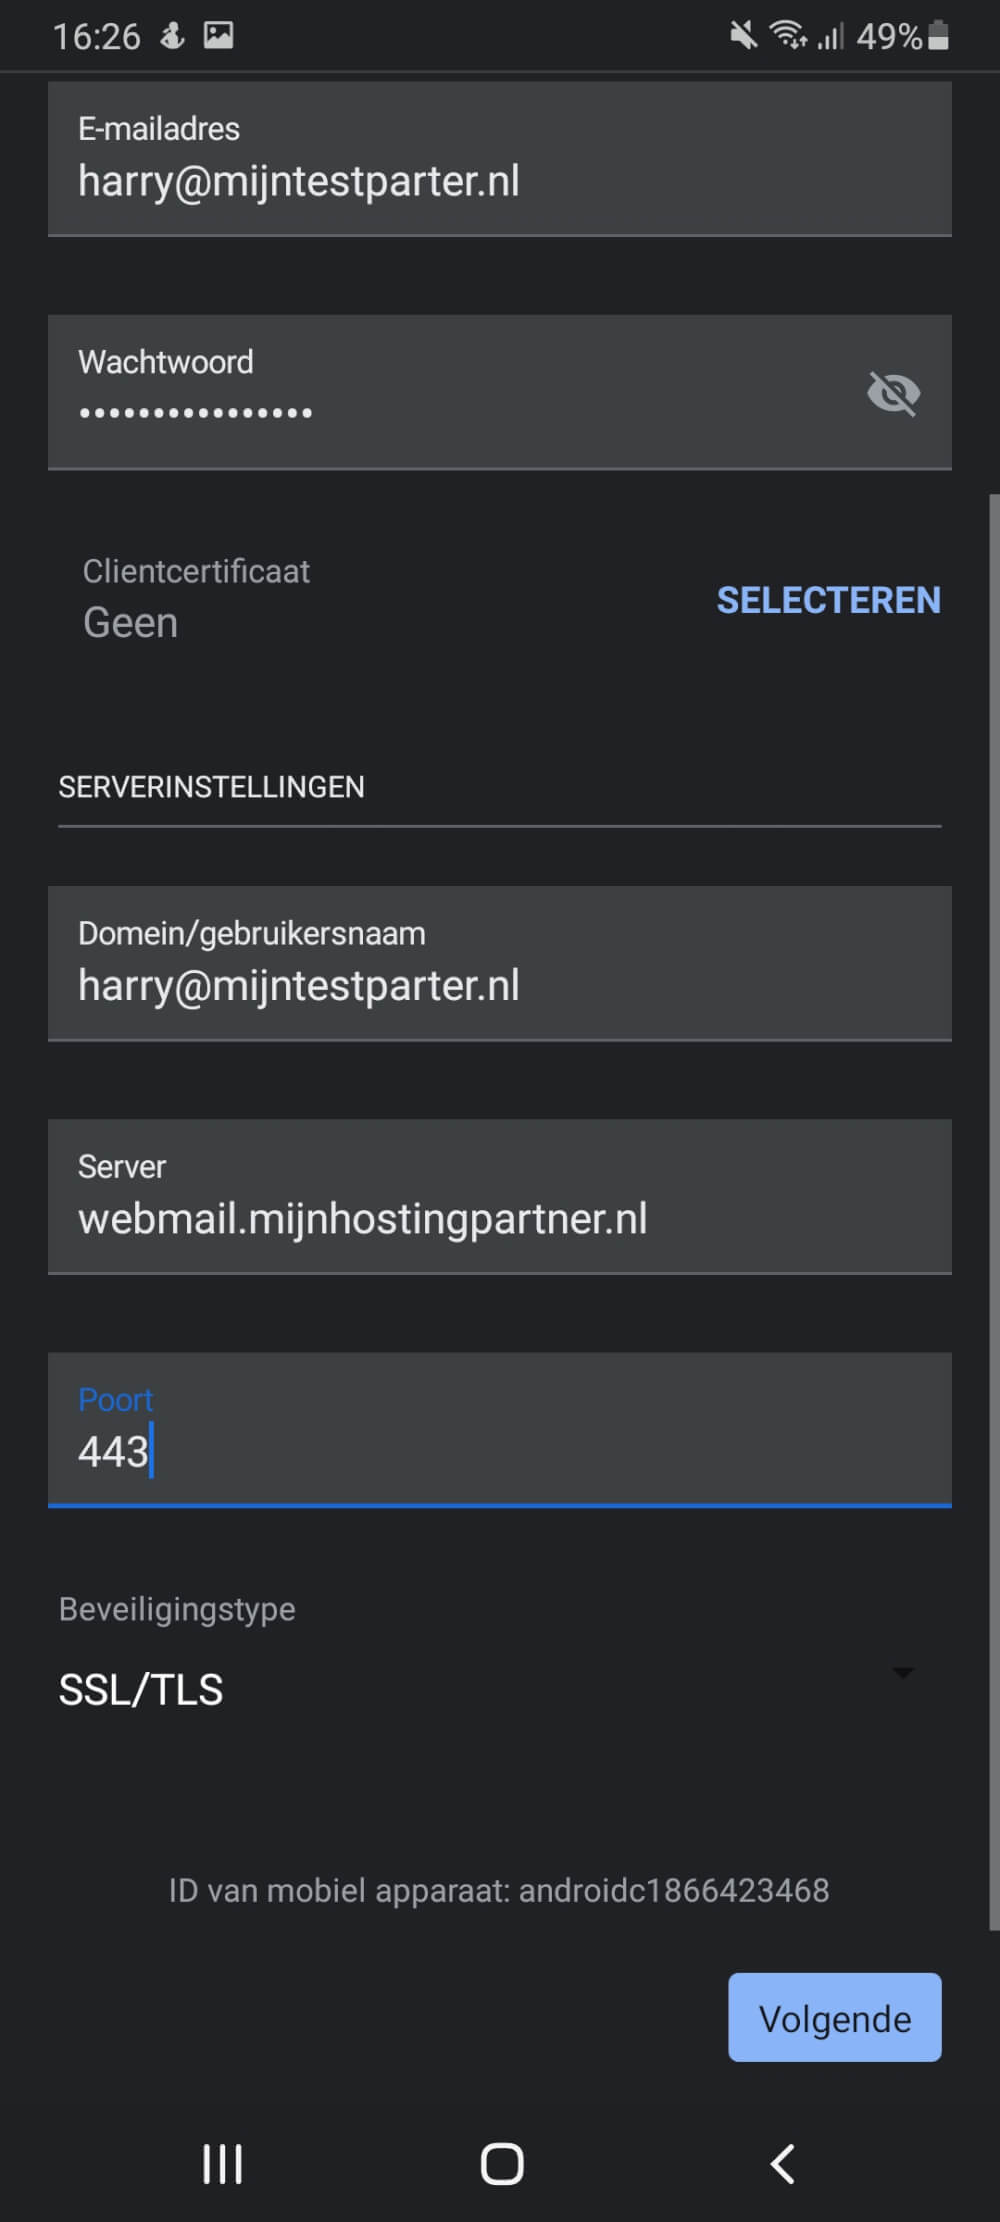
4 ) Fill in server at webmail.mijnhostingpartner.nl and at the port 443
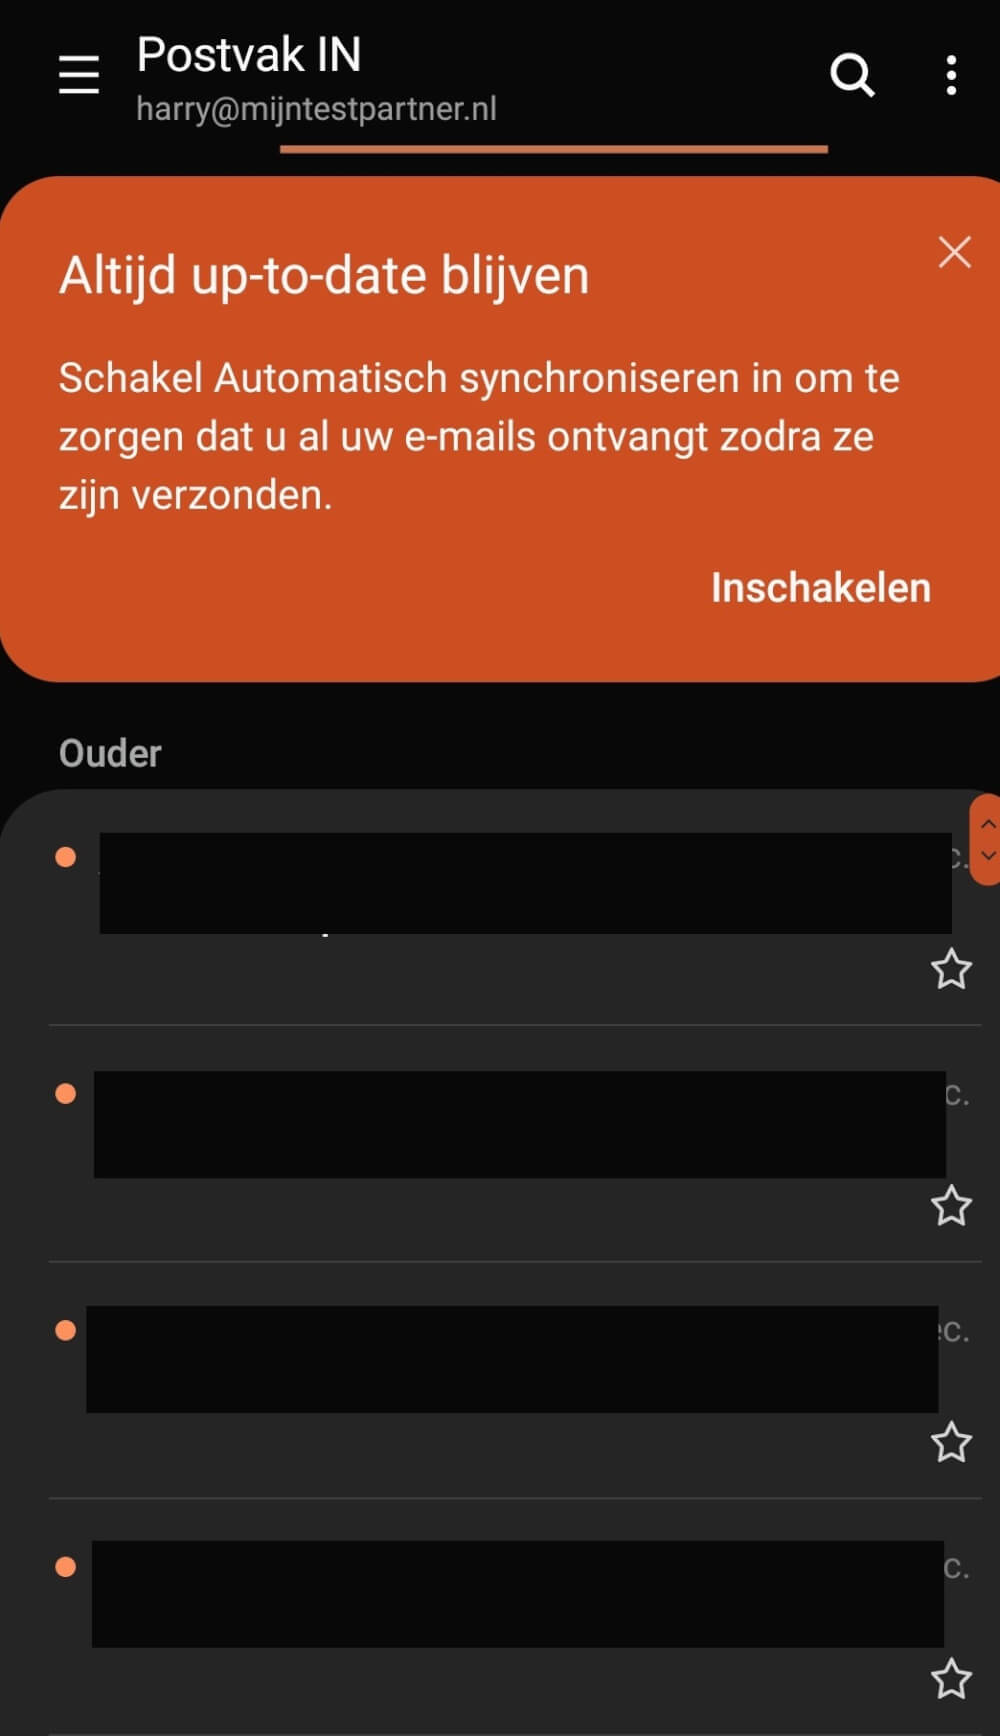
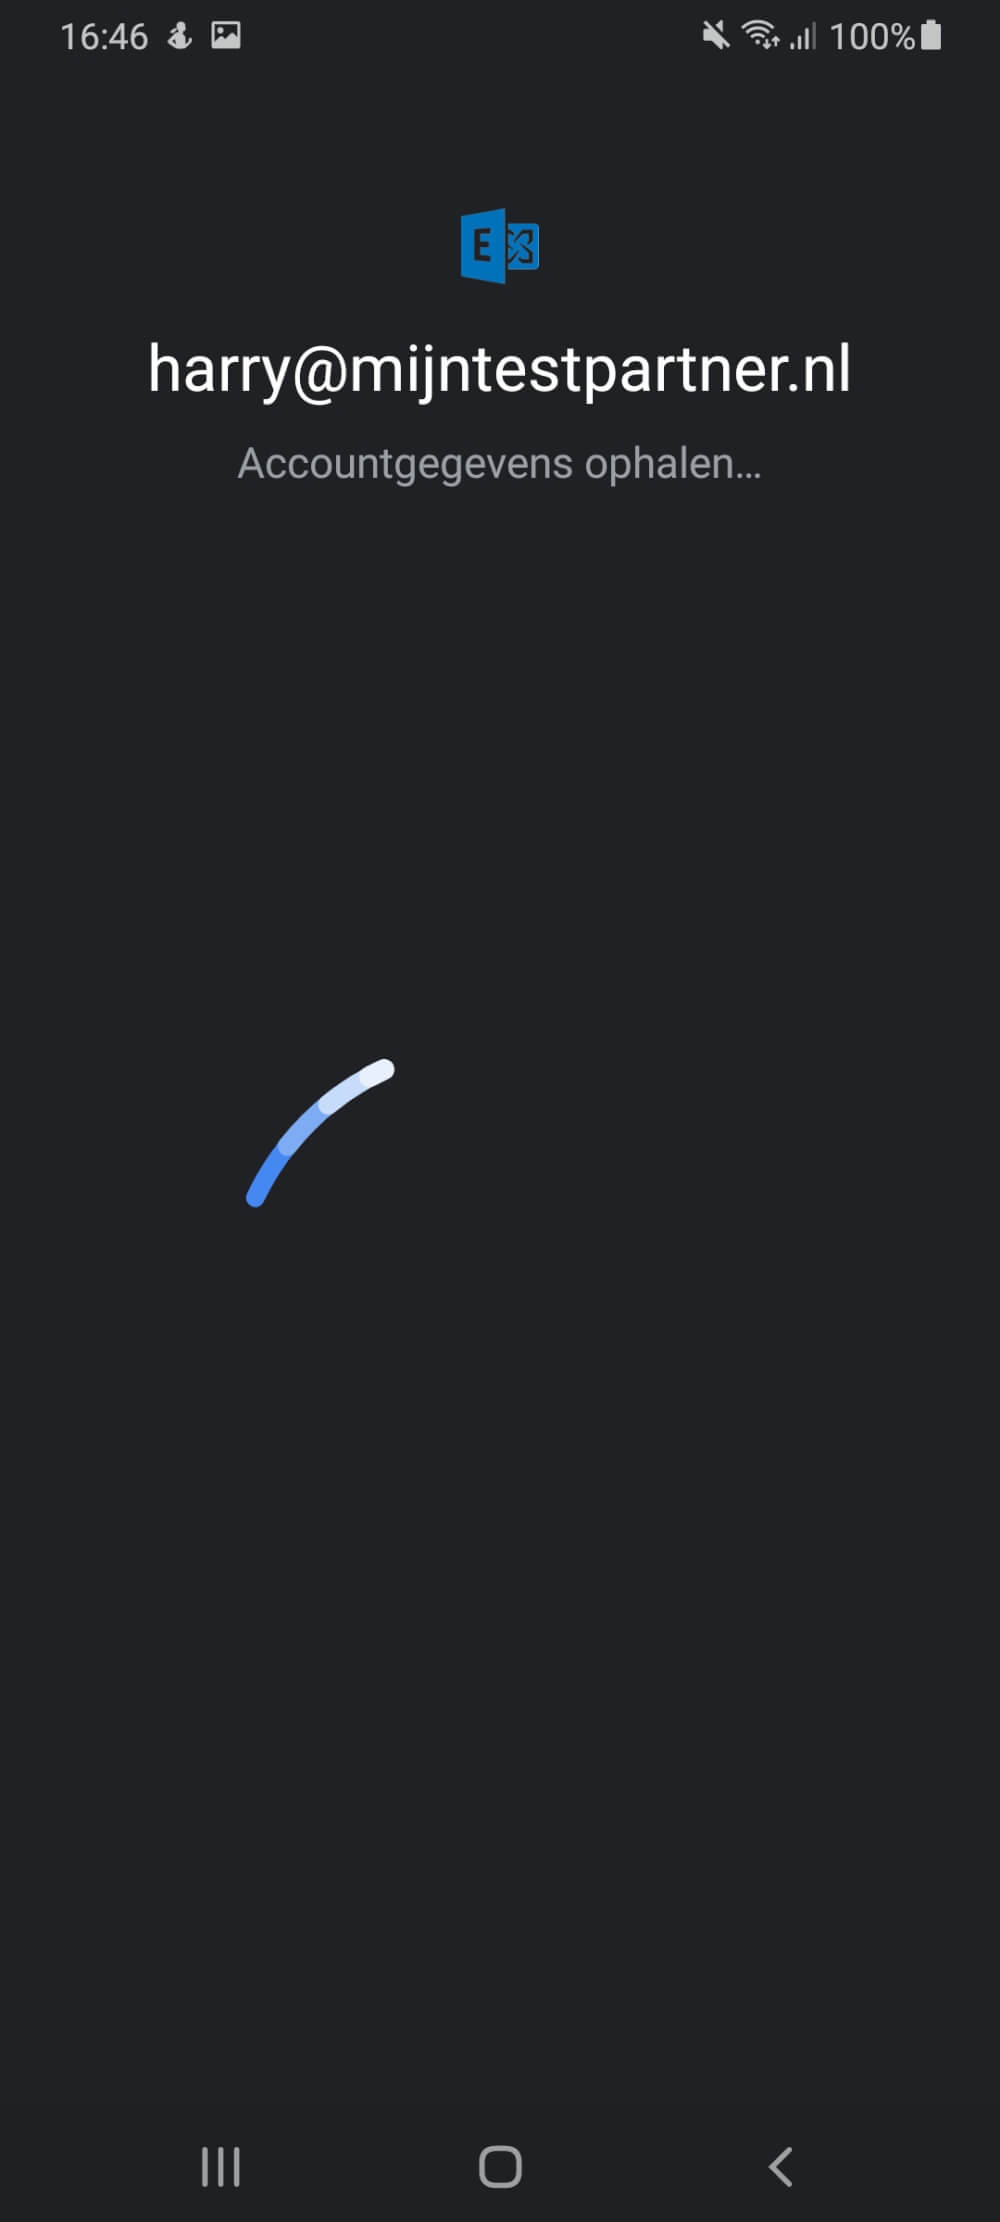
5 ) Wait until the synchronization is complete and then you can use your mail address.
6) After this is completed you will see your inbox