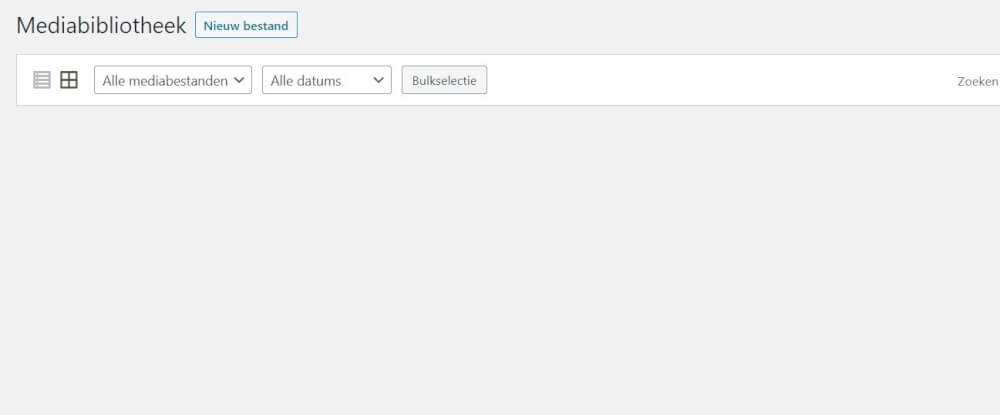
Library within WordPress
With any WordPress website, you'll have some media, whether it's images, videos or audio. With WordPress, this all ends up in the media library. Here's how to deal with this.
To first access your media library you can log into the administrator area within WordPress, you can do this by going to your website and putting /admin behind it in the URL bar. Then log in with the data you created earlier and go to the link media to get to the right place within your hosting package.
In the media library you will see everything uploaded within WordPress that has to do with media, and also a few things outside of this. Like documents that have also been uploaded and other things. Navigating within the media library actually begins and ends with the search functionality that is present. This search feature allows you to search for the media you want to use and upload. You can also select by the date it was uploaded to the hosting environment. And display all media in a list instead of the larger images.
Keeping order in the Media Library
So as you may already realize, it is very important that you always give images a logical name that you can search on. As soon as you need an image that is not good for searching, like the default generated names of smartphones or screenshots, it will be almost impossible for you to find the specific image then within the WordPress hosting.
With a normal WordPress website you can easily have hundreds of images in your media folder. To keep order in this folder it is useful to give it a logical name. And perhaps also to further subdivide this into folders. This is only possible with a plugin within WordPress, so we generally recommend not to install another plugin for this. As long as you have a logical name for the files, and know the rough date, you can easily find a lost image.
It is often not a good idea to change the folder structure of uploads in direct FTP. This can cause your images to no longer work on your WordPress website. Since the path cannot be found.
Supported files within WordPress
Almost any common media and files can be uploaded in the hosting of MijnHostingPartner.nl. If you still get a 404 message with a file it is possible that you still need to add a MIME type, this can easily be done within the control panel. The list of supported media within WordPress is as follows:
- Images
- Audio files
- Video
- PDF
- Microsoft Office documents
The regular formats where you upload the above files are the ones you can also upload within WordPress. If you get the correct extension still a 404, so please check if adding the MIME type in the control panel solves this. Executable files are not supported due to security rules.
Adjust images locally, not within WordPress
It is of course very easy to modify files within the media library in WordPress, however, we do not recommend doing this online. This is better for the following reasons to modify it locally, with a simple program like Microsoft Paint for example.
Once you edit an image within the WordPress website you will immediately see multiple images of it in the file manager or via FTP. This takes unnecessary space with each edit, and creates pollution within your folder structure. It is better to edit locally before uploading to the media library. After that you can immediately start using your image on your website.
The regular size of images in an article is 900 wide, and images that are seen as a cover can be set to 1204. The length can be set automatically, or separately if needed.
Error messages when uploading Media within WordPress
The most common error messages you may encounter within WordPress are either problems with the write permissions or the session. The write permissions are needed to work with a WordPress website generally. These permissions can only be given to the wp content folder, or also the parent folders. However, watch out for this as it can be a security risk. So always restrict this to keep your website as secure as possible. More information about setting write permissions at MijnHostingPartner.nl can be found in our knowledge base. There is described exactly how to set this within the hosting.
The second message that can occur is a general HTTP error that you get when trying to upload an image or media file. In almost all cases this indicates that your session has expired. In other words, your WordPress administrator account has been automatically logged out after a certain period of time. There is then simply to log in again to fix this error, or just refresh the page properly by pressing CTRL + F5 several times. Then refresh the session.
For more tips on WordPress and Hosting, keep an eye on our blog posts!
